


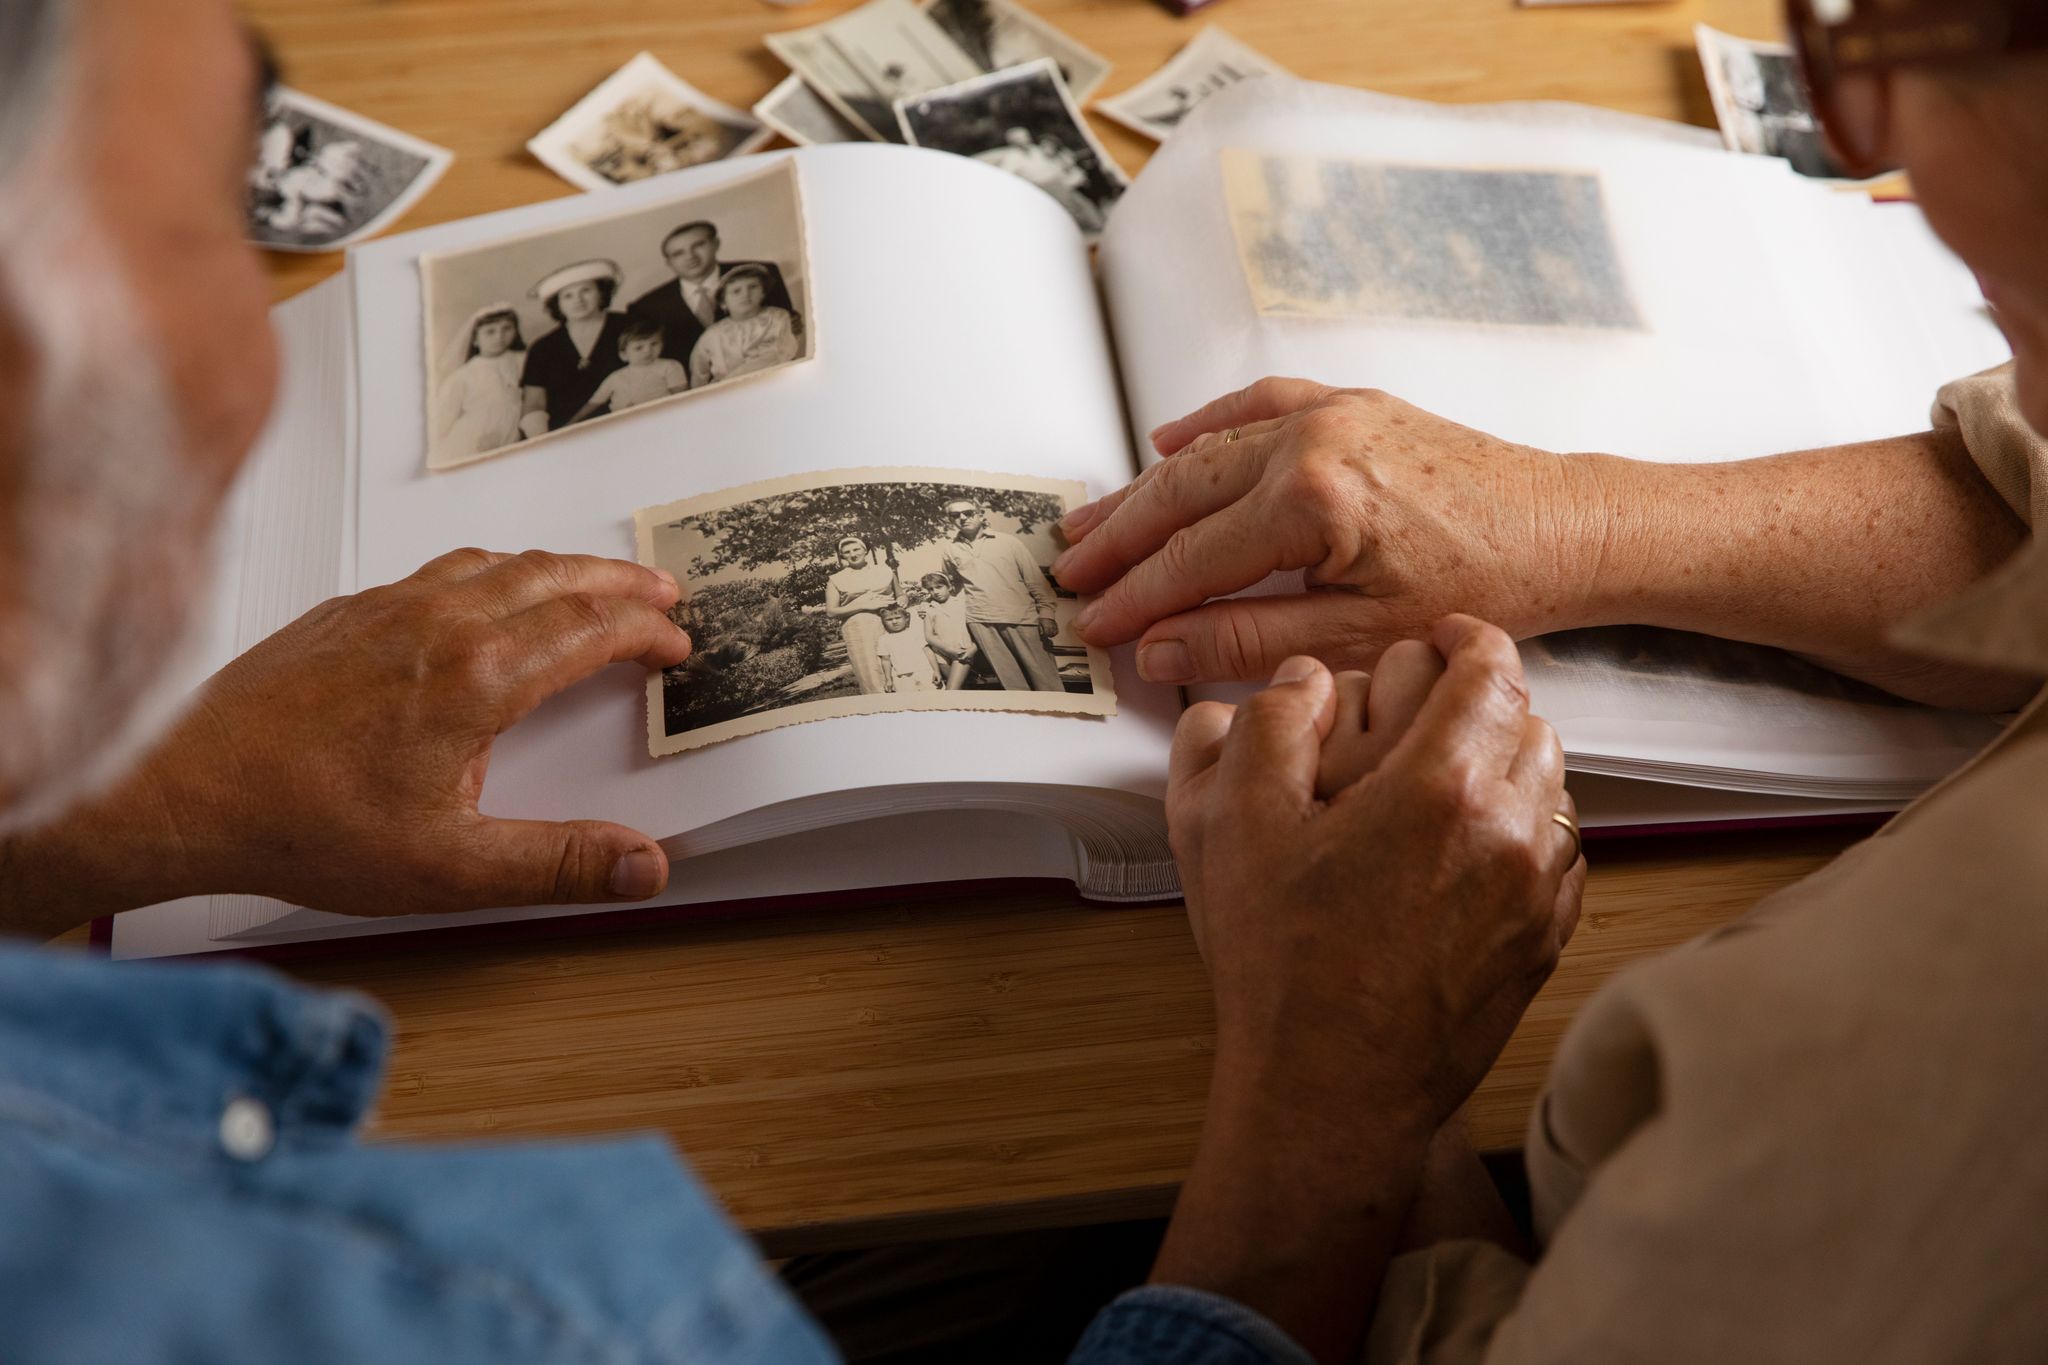
The laughter echoing from childhood memories, the lessons learned through struggle, the people who shaped your life—all there, in ink and image. Sharing your story isn’t just about reminiscing. It’s about capturing the essence of who you are and passing it on like a torch through time. Every photo, every word, every video becomes a thread in the fabric of your family’s history.
When you take the time to reflect and write, you begin to see patterns—how far you’ve come, the values you’ve built your life on, the dreams you once had and the ones you still carry. That clarity doesn’t just benefit you—it becomes a compass for your children and grandchildren. It strengthens your roots and brings your family closer, allowing them to understand your heart beyond the surface.
With tools like Meminto Stories, your memories don’t stay trapped in your mind or lost in the cloud. They become something tangible—something you can hold, gift, and revisit. Don’t wait for the "right time." Start now. Leave behind more than just belongings. Leave behind a legacy.
Here is why:
- List Key Life Events: Identify important milestones – like childhood memories, career achievements, and family moments.
- Create a Timeline: Arrange these events chronologically, breaking them into life phases (e.g., childhood, teen years, adulthood).
- Group Events into Sections: Divide your timeline into chapters based on life stages or themes like relationships, career, or travel.
- Add Details: Turn milestones into rich stories by including settings, characters, emotions, and reflections.
- Connect Stories: Link events to show how one moment led to the next, creating a cohesive narrative.
Why it matters: Sharing your story can preserve memories, strengthen family bonds, and provide clarity about your journey. Tools like Meminto Stories even help you turn your memories into a physical book with text, photos, and videos. Start now and leave a legacy for future generations.
Step 1: List Key Life Events
Finding Important Moments
Start by identifying the moments that have shaped your life. Go through old photos, journals, or keepsakes to jog your memory. You can also record voice notes while answering specific questions about your past. As Martin from Charleston shared:
"Thoughtful, reflective questions that made me feel grateful"
Once you’ve brought these memories to light, you can organize them chronologically in the next step.
[elementor-template id="31967"|
Making Your Timeline
Take the key events you’ve identified and arrange them in chronological order. One person described their experience like this:
Focus on major milestones, personal achievements, family memories, and turning points. Working with family members can provide fresh perspectives and help fill in any blanks.
To make it easier, you might break your timeline into these stages:
| Life Stage | Key Events to Document |
|---|---|
| Childhood | First day of school, family moves, special celebrations |
| Teen Years | High school milestones, first job, important friendships |
| Young Adult | College or career start, relationships, living independently |
| Adult Life | Marriage, children, career milestones, travel |
| Recent Years | Retirement, grandchildren, new hobbies or projects |
Once your timeline is complete, you’ll be ready to dive deeper into the stories behind each event.
Step 2: Group Events Into Sections
Breaking Down Life Phases
Divide your timeline into clear chapters that highlight different stages of life. This approach makes your narrative more engaging and easier to follow.
| Life Phase | Key Focus Areas | Common Events |
|---|---|---|
| Early Years (0-12) | Family, School, Firsts | First day of school, childhood homes, family traditions |
| Teen Years (13-19) | Education, Friends, Growth | High school graduation, first job, important friendships |
| Young Adult (20-29) | Career Start, Independence | College experiences, first apartment, career beginnings |
| Adult Life (30-50) | Family, Career Progress | Marriage, children, career milestones |
| Mature Years (50+) | Reflection, Legacy | Retirement, grandchildren, life lessons |
Once you’ve outlined these chapters, group your events under each phase to create a cohesive story.
Organizing by Topic
For an even more structured narrative, divide each chapter into themes. This ensures your story flows smoothly and highlights key aspects of your journey. Possible themes include:
- Relationships and Family: Track family milestones, traditions, and key relationships.
- Education and Career: Document your academic achievements and professional growth.
- Personal Growth: Focus on moments of self-discovery or major accomplishments.
- Travel and Adventures: Share memorable trips and unique experiences.
- Home and Community: Highlight changes in where you’ve lived and the communities you’ve been part of.
Use these themes to add depth and organization to each life phase, making your timeline more meaningful and engaging.
Step 3: Fill in Story Details
Turning Events Into Stories
Take each milestone and turn it into a full story by adding details about the setting, characters, actions, emotions, and outcomes. Use the table below as a guide to flesh out each event:
| Story Element | Key Details to Include | Example Questions |
|---|---|---|
| Setting | Time, place, and atmosphere | Where were you? What was the environment like? |
| Characters | People involved and their roles | Who was there? How did they influence the situation? |
| Actions | What happened and how people reacted | What occurred first? How did others respond? |
| Emotions | Feelings, thoughts, and reactions | What were you feeling? What thoughts crossed your mind? |
| Impact | Changes or consequences from the event | How did this event shape your life moving forward? |
Start with a simple note like "First day of college", then expand it. Describe the campus vibe, the nervous energy you felt, the people you met, and how that day influenced your college journey. Once you’ve outlined the events, add depth by including personal reflections.
Adding Personal Reflections
Personal reflections bring depth and meaning to your timeline. They not only enhance each story but also create a sense of continuity across your narrative.
For each milestone, reflect on:
- The emotions you experienced
- Lessons you took away
- How your perspective shifted
Jost (71) highlighted this beautifully:
"A memoir like this also clarifies things for oneself."
Verena (32) added:
"Through the questions, beautiful old memories come up again. Even videos could be loaded into the book. Emotions like when it all happened!"
When weaving in these details, aim for honesty over perfection. What makes your story engaging is your unique viewpoint and the growth you’ve experienced.
sbb-itb-e3574dd
Step 4: Connect Your Stories
Linking Events Together
Bring your individual stories together into a single narrative that shows how one experience naturally led to the next.
| Connection Type | Purpose | Example Bridge Question |
|---|---|---|
| Cause and Effect | Explains how one event influenced another | How did this experience shape your next decision? |
| Time Progression | Highlights the passage of time | What significant changes occurred between these events? |
| Theme-based | Connects similar experiences | How did this reflect the same life lesson? |
| Personal Growth | Shows development over time | What did you learn that influenced your later choices? |
After linking these moments, it’s time to focus on reviewing and polishing your story.
Reading and Reviewing
Once your events are connected, refine the flow of your story. Check for smooth chronological transitions and a logical emotional journey. Share your narrative with trusted readers to get clear and actionable feedback.
"I’ve tried so many things, but with any travel picture, you always have to tell your friends what you experienced there anyway. That’s the strong advantage of Meminto. It includes the WHOLE story."
Writing Your Life Story: Get Started with this Exercise
Tools to Make Your Story Better
Bring your narrative to life by incorporating visuals and multimedia elements.
Adding Photos and Media
Include high-quality photos, short video clips (30–60 seconds), and clear audio recordings to enrich your story. Organize these elements in chronological order to align with your written timeline, making it easier for readers to follow along.
Using Meminto Stories
Meminto Stories helps you combine text and media into a personalized life story book. Here’s how it works:
1. Voice Recording Integration
Transform your spoken memories into text using AI-powered speech-to-text technology.
2. Guided Storytelling
Receive weekly prompts to help structure your story and recall memories. Werner, 68, shared his experience:
"With just one question per week, I was able to record my life story. That was a lot of fun! I am proud of my book and am already preparing the second one."
3. Multimedia Enhancement
Incorporate video memories to make your story even more engaging. JP & Michelle highlighted this feature:
"Our favorite feature is that you can add a video memory in your book! How amazing is that!? This truly sets Meminto apart, and that is why we chose to trust them to bind together our special memories so that they will last forever!"
Conclusion: Creating Your Life Story
Steps Overview
Start by listing the key events of your life, then organize them into different phases. Add detailed reflections to each phase, and finally, combine everything into one flowing narrative. This approach not only helps you preserve your memories but also creates a meaningful way to connect with future generations.
Why Life Stories Matter
Organized life stories do more than just document your experiences – they help build bridges between generations. They offer clarity about your personal journey and create a sense of connection for those who come after you. As Jost, 71, shares:
"A memoir like this also clarifies things for oneself. The customer service is first class. I can only recommend Meminto."
The process is simple enough for anyone, no matter their tech skills. Reiner, 74, explains:
[elementor-template id="31269"]