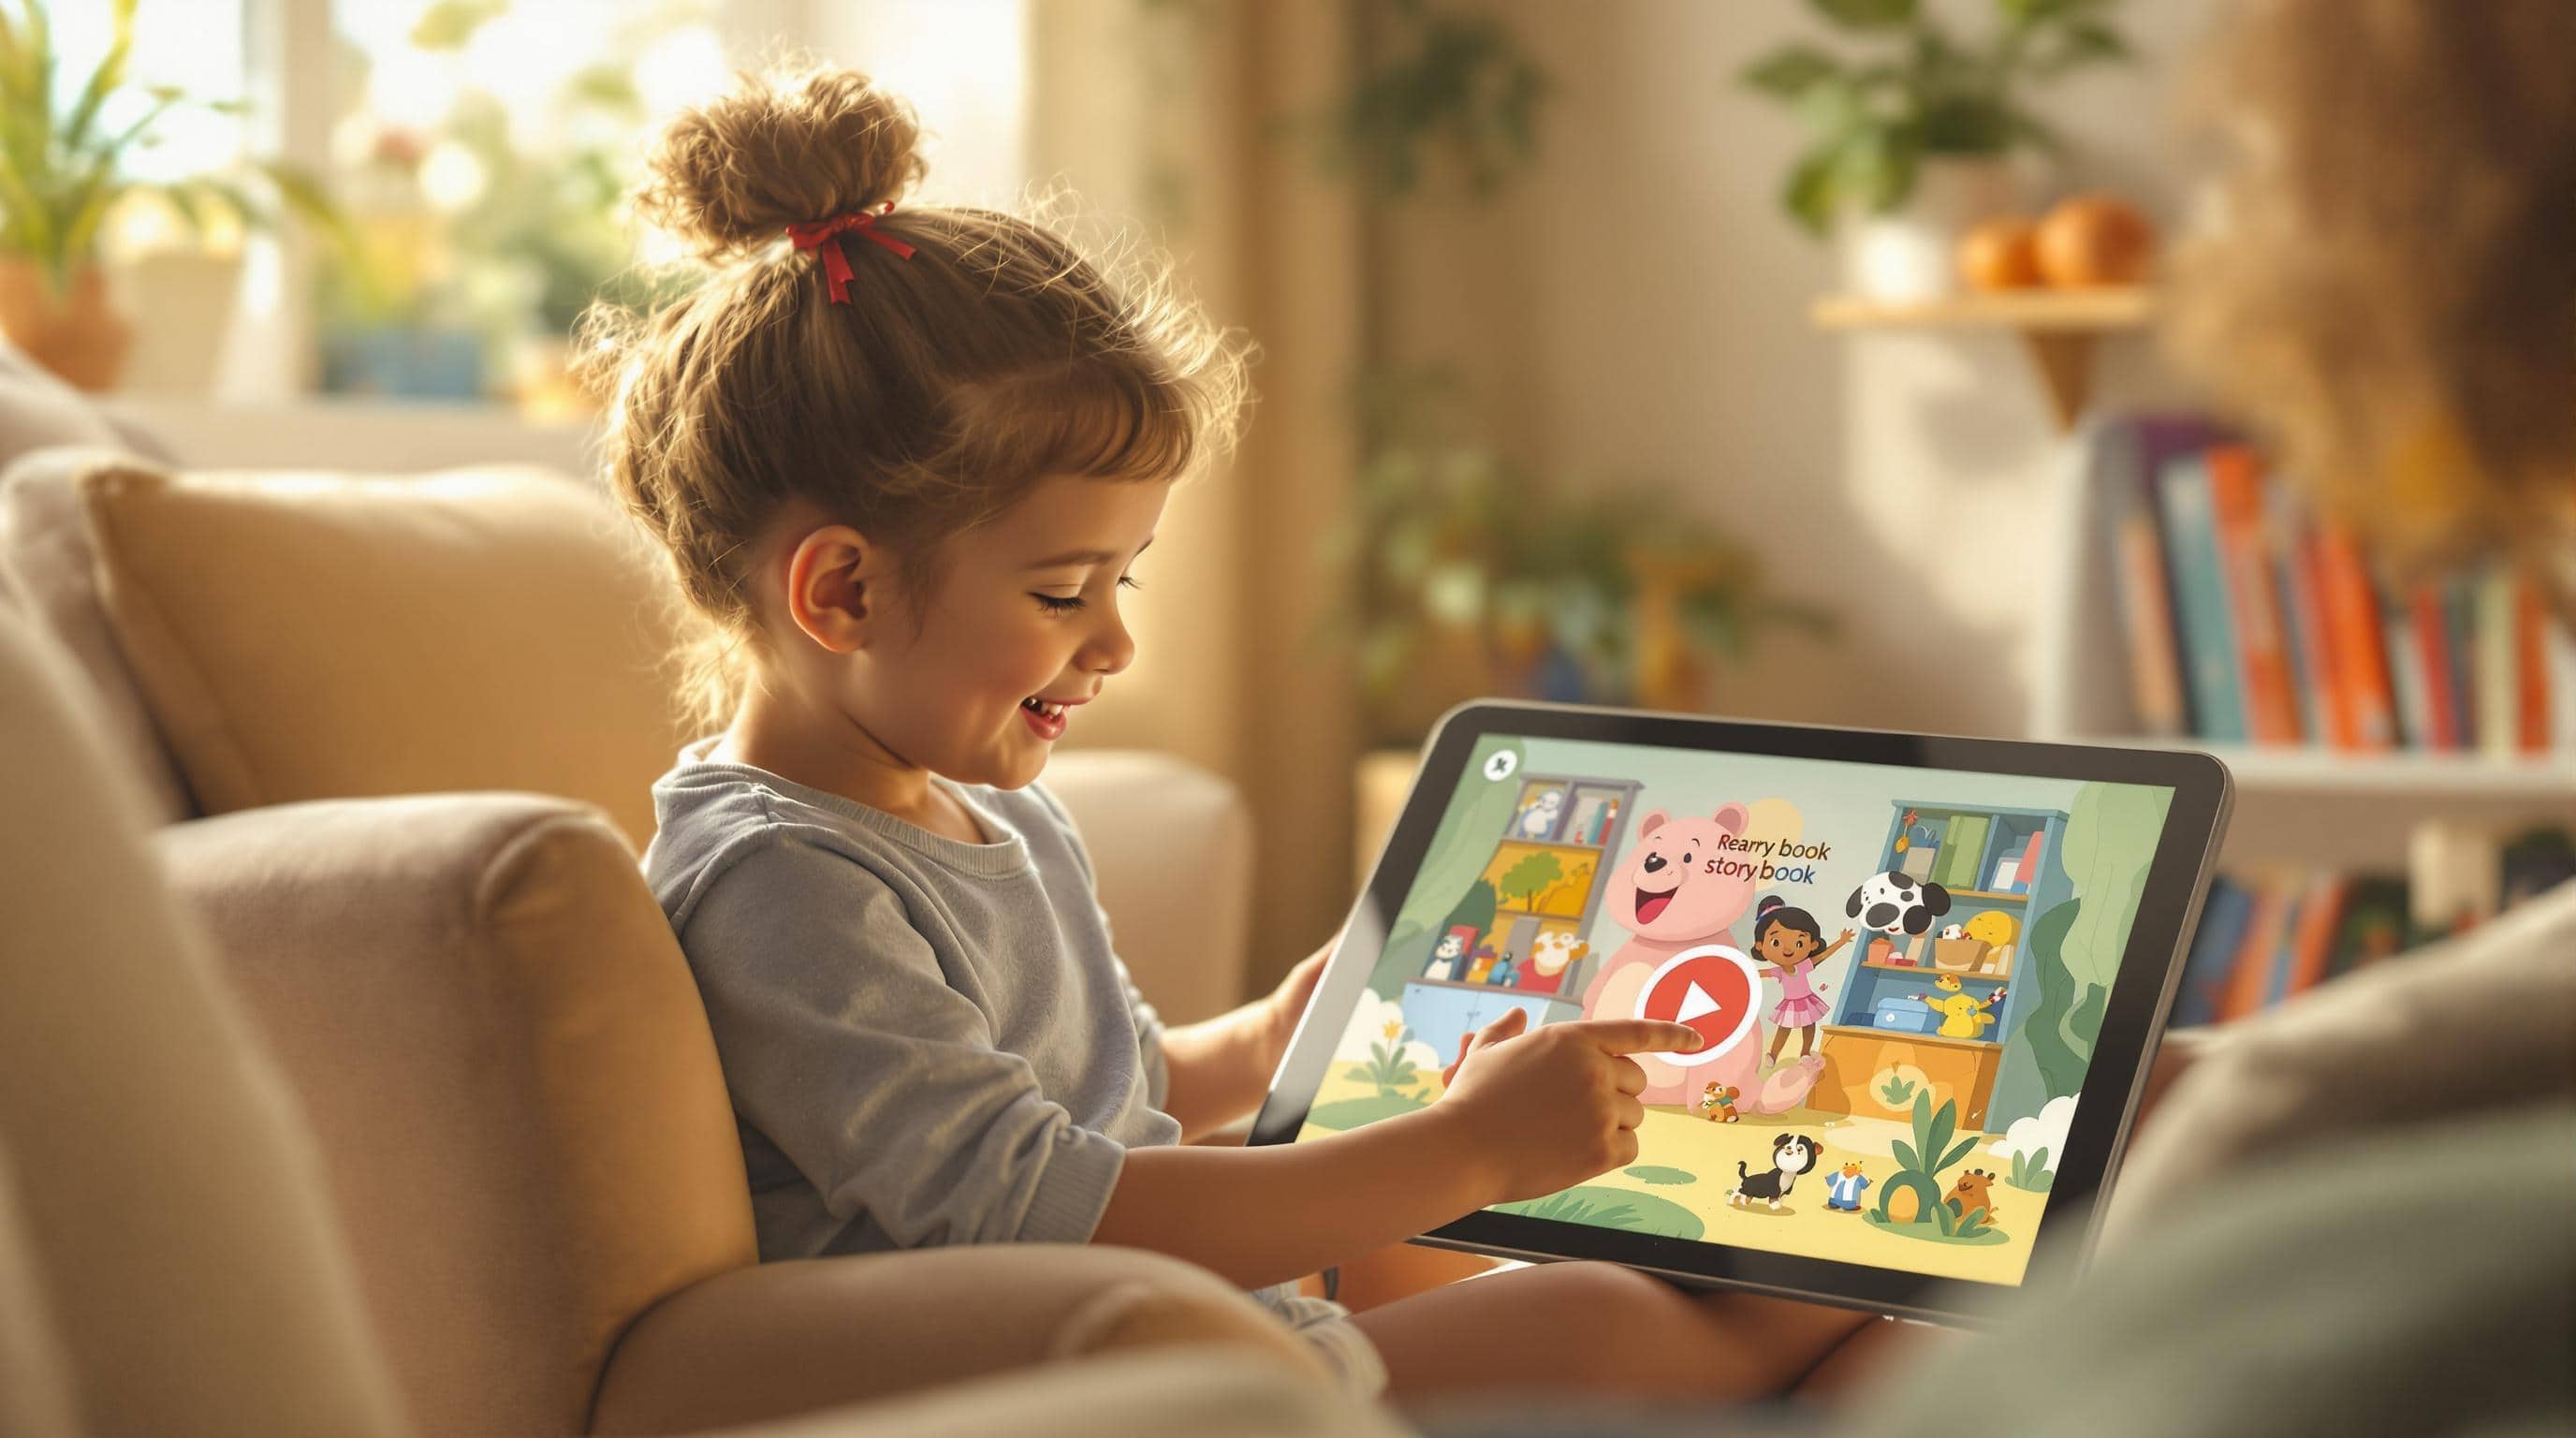

Adding videos to your Meminto Stories Book can make it more engaging and interactive. Here’s a quick guide to get started:
- Why Use Videos?
- Improve understanding: Videos help readers, especially kids, remember stories better.
- Add emotion: Facial expressions and tone in videos bring stories to life.
- Boost engagement: Videos hold attention and enhance storytelling.
- Choose the Right Platform:
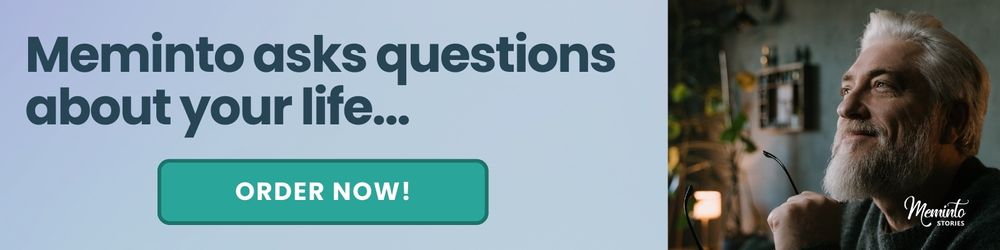
Look for platforms with features like MP4 support, video compression, and playback controls. Options include free tools like StoryJumper or paid ones like Meminto Stories ($99+). With Meminto, the main focus is to get a printed hardcover book with integrated videos. - Prepare Your Videos:
- Add Videos to Your Storybook:
- Upload directly or embed links from platforms like YouTube or Vimeo.
- Combine videos with text and images for a polished look.
- Make It Accessible:
Add captions, transcripts, and audio descriptions to ensure everyone can enjoy your content.
How to Make Animated Videos for Digital Storybooks
Selecting a Video-Compatible Storybook Platform
Picking the right platform for creating storybooks with video elements can make your creative process much easier. Today’s platforms are designed to handle multimedia content without requiring technical expertise.
Key Features to Look For
When deciding on a storybook platform, focus on these video-related features:
- File Format Support: Handles popular formats like MP4, MOV, and AVI.
- Upload Options: Allows direct uploads, integration with cloud storage (e.g., Google Drive, Dropbox), and support for video hosting services like Vimeo.
- Video Controls: Includes basic playback options like play/pause, volume adjustment, and autoplay settings.
- Compression Tools: Optimizes video for faster loading without losing quality.
Many platforms already incorporate these features. For instance, Studeo introduced a video integration system in 2022 that supports multiple upload sources, built-in compression, and even converts videos into cinemagraphs.
Meminto Stories Platform Overview
Meminto Stories stands out with its AI-driven tools and straightforward video integration:
"Our favorite feature is that you can add a video memory in your book! How amazing is that!? This truly sets Meminto apart, and that is why we chose to trust them to bind together our special memories so that they will last forever!" – JP & Michelle
The platform offers three pricing options:
| Plan | Price | Video Features |
|---|---|---|
| 100 Pages Book | $99 | Video uploads, digital flipbook |
| 200 Pages Book | $129 | Enhanced video storage |
| 300 Pages Book | $149 | Maximum multimedia capacity |
Free vs. Paid Platforms
There are both free and paid platforms available, each catering to different needs:
- Free Platforms:
- FlexClip: Basic video storybook tools with AI and templates.
- StoryJumper: Classroom-friendly platform with video support.
- Elementari: Combines storytelling with multimedia features.
- Paid Platforms:
- Vooks: Offers professional animated storybooks for $6.99/month or $49.99/year, including offline access.
- Book Creator: Provides advanced video integration features and includes a free trial.
Free platforms are great for straightforward projects, but paid options often deliver better hosting, improved compression, and advanced editing tools. Consider your specific needs – like video quality, storage, and sharing – when making your choice.
Getting Videos Ready for Your Storybook
To include videos effectively in your digital storybook, start by preparing them the right way.
Video File Types and Settings
Stick with MP4 using the H.264 codec for a good balance between quality and compatibility. This ensures your videos play smoothly across most devices.
Here’s what your video settings should look like:
- Resolution: 1080p (1920×1080)
- Frame rate: 30fps
- Aspect ratio: 16:9 (widescreen)
- Audio: AAC codec at 128-192 kbps
Other formats like MOV offer better quality but result in larger files, potentially slowing down loading times. On the other hand, WebM compresses well but isn’t supported everywhere.
Once your videos are formatted, focus on editing them to fit your story.
Basic Video Editing Steps
Use these editing tips to make your videos flow better:
- Trim out unnecessary scenes that don’t add to the story.
- Adjust audio levels to balance dialogue and background music.
- Add smooth transitions between clips.
- Include captions or text overlays when needed.
For editing, several tools cater to different skill levels:
| Editor | Best For | Key Features | Price |
|---|---|---|---|
| VideoProc | Beginners | 370+ formats, 90% compression | $29.95/year |
| Movavi | Intermediate | 180+ formats, easy-to-use interface | $39.95/year |
| HandBrake | Advanced | Free, open-source | Free |
After editing, ensure your videos are compressed for smooth playback.
File Size and Quality Balance
Kotobee managed to shrink a 2.1 GB video collection down to just 79 MB without losing much quality.
Here’s how you can compress your videos effectively:
- Use Professional Tools
Tools like VideoProc Converter AI can reduce file sizes by up to 90% while keeping quality intact. If you’re looking for a free option, HandBrake offers web-optimized presets for compression. - Choose Efficient Compression Settings
Modern codecs can compress raw footage significantly while retaining visual quality. When exporting:- Enable the "Web Optimized" setting.
- Use the H.264 codec.
- Aim for a bitrate of 2-5 Mbps for 1080p videos.
- Test Your Videos
Always preview compressed videos on various devices to confirm quality. If streaming issues arise, consider platforms like Vimeo for better playback performance.
"Optimizing videos may involve changing formats, resampling (bit rate, frequency, etc), changing resolution, or downgrading quality. The latter may not necessarily be detectable to the human eye, especially when viewed on small screens. The idea is to reach the smallest size possible while maintaining high video quality for your viewers."
sbb-itb-e3574dd
Adding Videos to Your Storybook
Once your videos are formatted and edited, the next step is embedding them into your digital storybook. While different platforms may have slightly varied processes, the overall approach stays consistent.
Video Upload Options
Most digital storybook platforms offer two primary ways to add videos:
- Direct Upload
Many platforms support MP4 uploads (up to 500 MB) directly from your device. Here’s how:- Open your storybook in Editor mode.
- Go to the page where you want the video.
- Select the Video option.
- Choose "Upload" and pick your video file.
- Adjust the size and position of the video.
- Save your changes by clicking Finish.
- Embedding External Videos
For larger files or better streaming, embed videos from platforms like YouTube, Vimeo, or Wistia:- Copy your video’s share link.
- Open the video insertion tool in your storybook.
- Paste the link into the provided field.
- Customize playback settings (like autoplay or mute).
- Position the video on your page.
After uploading or embedding, you can integrate the video with other content for a polished look.
Mixing Videos with Other Content
To create a visually appealing layout, combine videos with text and images. Here are some tips:
| Content Type | Best Placement | Recommended Size |
|---|---|---|
| Main Videos | Center of the page | 1280×720 pixels |
| B-roll Clips | Side panels | 640×360 pixels |
| Text Blocks | Below videos | 2–3 paragraphs |
| Images | Alongside videos | Match video width |
Some platforms also offer advanced features, such as:
- Autoplay with muted audio.
- Play-on-click options for specific segments.
- Adding captions to improve accessibility.
- Interactive tools for smoother transitions.
Troubleshooting Common Video Issues
Here’s how to handle common video playback problems:
- Black Bars Around Videos
- Check that your video dimensions match the embed code settings.
- Ensure the thumbnail’s aspect ratio aligns with the video.
- Enable responsive embedding options when available.
- Playback Issues
- Clear your browser cache frequently.
- Update any video player plugins.
- Verify your internet connection is stable.
- If embedding doesn’t work, try using an iframe as a fallback.
- Authorization Errors
- If you see a message like "This Video is Not Authorized to Be Embedded Here", ask the account owner to review domain restrictions in the settings.
Regularly updating software drivers and clearing cached data can help avoid playback issues and keep your videos running smoothly in your digital storybook.
Making the Most of Video Content
When it comes to integrating and optimizing video, a few strategies can help you get the most out of your efforts.
Video Content Ideas
Here are some common types of video content and how they can enhance your storytelling:
| Content Type | Ideal Length | Best Use Case | Impact |
|---|---|---|---|
| Story Intros | 30–45 seconds | Set the tone and mood | Builds anticipation |
| Character Spotlights | 60–90 seconds | Showcase personalities | Creates a connection |
| Behind-the-Scenes | 1–2 minutes | Highlight the creative process | Adds a personal touch |
| Action Sequences | 45–60 seconds | Amplify key moments | Boosts engagement |
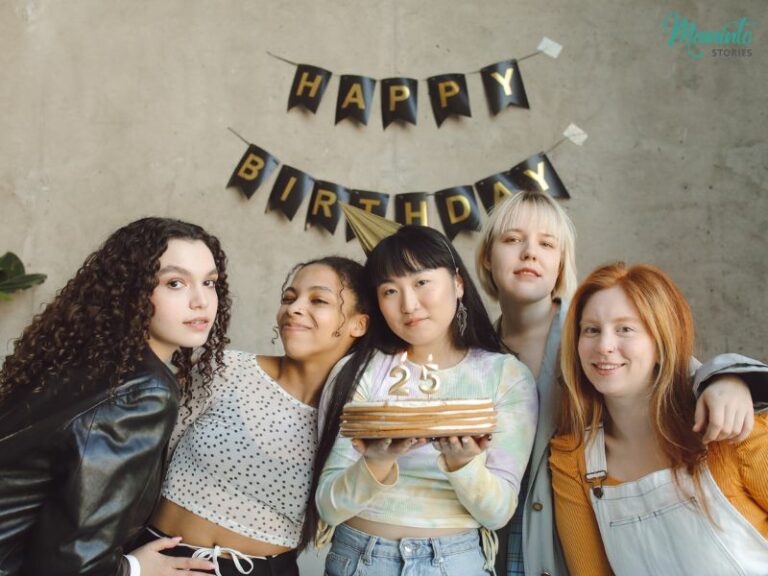
| Memory Clips | 30–60 seconds | Highlight personal moments | Evokes emotion |
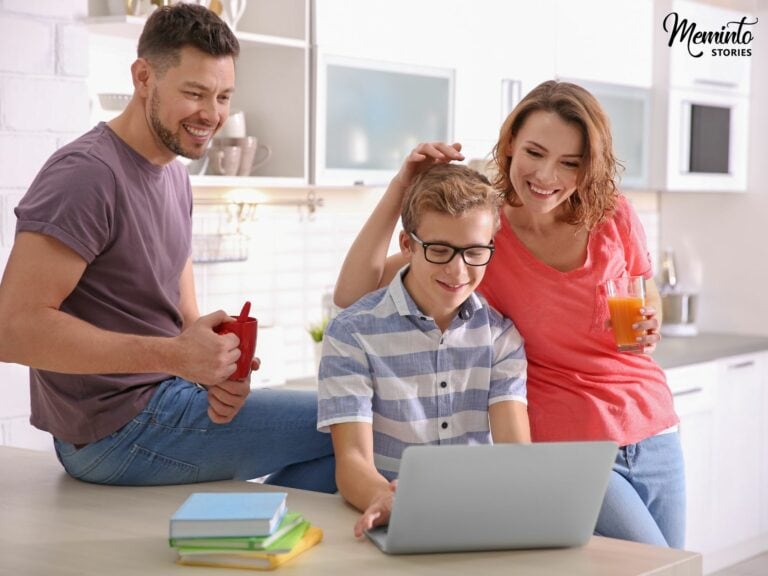
For example, Meminto Stories users often pair character introduction videos with voice-overs and soft background music. This approach complements written descriptions and adds depth to the characters.
Mixing Videos with Written Content
Combining videos with text can make your story more engaging. Here’s how:
- Place videos strategically: Position videos where they naturally enhance the narrative. For instance, use a video to introduce a character before their first major scene or add behind-the-scenes clips after a pivotal moment.
- Balance text and video: Use short videos alongside written content to maintain a balanced flow.
- Smooth transitions: Add visual cues, like icons or brief introductory text, to prepare readers for a video. This ensures the transition between text and video feels natural.
Making Videos Available to All Users
Accessibility is key to ensuring everyone can enjoy your videos. Follow these tips to make your content inclusive:
- Add clear captions.
- Include audio descriptions for visually impaired users.
- Provide downloadable transcripts.
- Use video players with keyboard controls.
- Opt for high-contrast visuals for better visibility.
"Video accessibility refers to the practice of designing and delivering video content that is inclusive of all viewers, including those with disabilities." – Michael Halpin
Saving and Sharing Video Storybooks
After finalizing your video storybook, it’s important to store and share it securely to ensure smooth access and long-term usability.
Online Sharing Methods
When sharing video storybooks, choose secure methods to protect your content and ensure compatibility across devices:
- Password protection: Ideal for less sensitive materials.
- Role-based access: Best for confidential content.
- Temporary access links: Useful for highly sensitive files.
For businesses, platforms like VIDIZMO EnterpriseTube offer high-quality playback and strong security features. This is especially important considering that 74% of companies have reported insider threats.
Backup and Storage Options
A good backup strategy is essential to safeguard your video storybook. Popular cloud storage options include:
- Google Drive Business Standard: 2TB for $12/month.
- Dropbox Essentials: 3TB for $18/month.
- pCloud Premium Plus: 2TB for a one-time payment of $350.
"Security is a key factor for all storage, but organizations working with long-term data backups should also pay particular attention to access, cost and capacity".
For added security, combine cloud storage with local backups on external drives. Use encrypted storage for sensitive files, schedule automatic backups, and consider print versions as a supplement to your digital storybook.
Print Options with Video Links
Print storybooks can help connect the physical and digital worlds. Add QR codes, shortened URLs, or use tools like FlippingBook Online to embed video links. Place these links near relevant text to make it easy for readers to switch between formats.
Conclusion: Next Steps for Your Video Storybook
Creating a video storybook doesn’t have to be overwhelming. Start by selecting a video-compatible platform that aligns with your needs and technical comfort level. The right platform will simplify your process and fit seamlessly into your workflow, setting you up for success.
Here are some key steps to keep in mind:
- Video Preparation: Properly format your videos and organize them into clear chapters.
- Accessibility Features: Add captions and transcripts for all videos, ensuring captions are positioned to avoid covering important visuals.
- Quality Control: Double-check auto-generated captions for accuracy and test your videos to ensure they play smoothly on various devices.
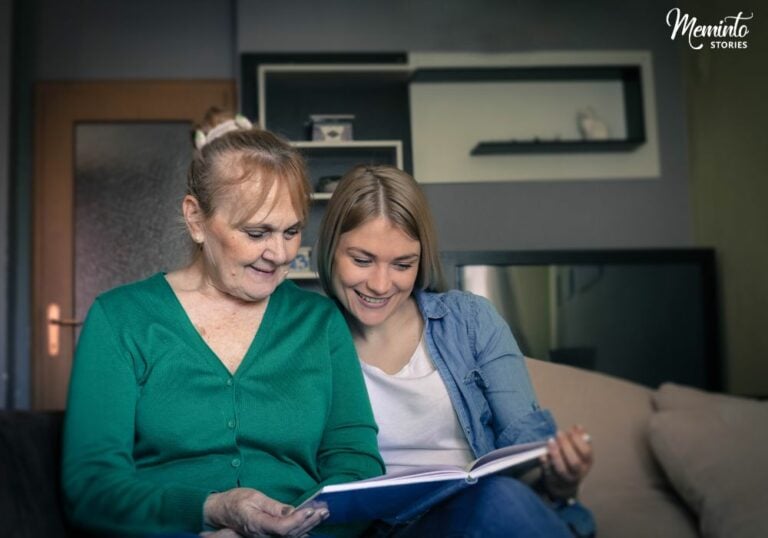
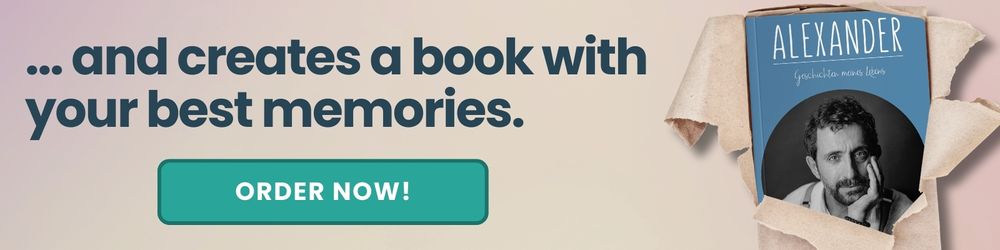
If you’re thinking about long-term preservation, consider combining digital and physical formats. For example, platforms like Meminto Stories offer print options that integrate digital video elements with traditional hardcover books, starting at $99.
For a more polished result, platforms such as Meminto Stories provide guided workflows and AI tools to simplify the process. As JP & Michelle shared about their Travelbook:
"Our favorite feature is that you can add a video memory in your book! How amazing is that!? This truly sets Meminto apart, and that is why we chose to trust them to bind together our special memories so that they will last forever!"