How to Record Family Stories and Turn Them into a Book


You can record a valuable family story with equipment you already own. Choose one memory, ask permission, place a phone nearby, and listen. The work after the conversation is just as important: name the file, keep a backup, check uncertain details, and shape the transcript into a chapter the speaker recognizes as their own.
What you need before you begin
For a quiet conversation, a phone or laptop is usually sufficient. Prepare:
- one device with enough battery and storage;
- a quiet room with soft furnishings rather than a noisy café;
- three questions about one period or event;
- one photograph, letter, recipe, or object that can prompt details;
- water and enough time to stop without rushing.
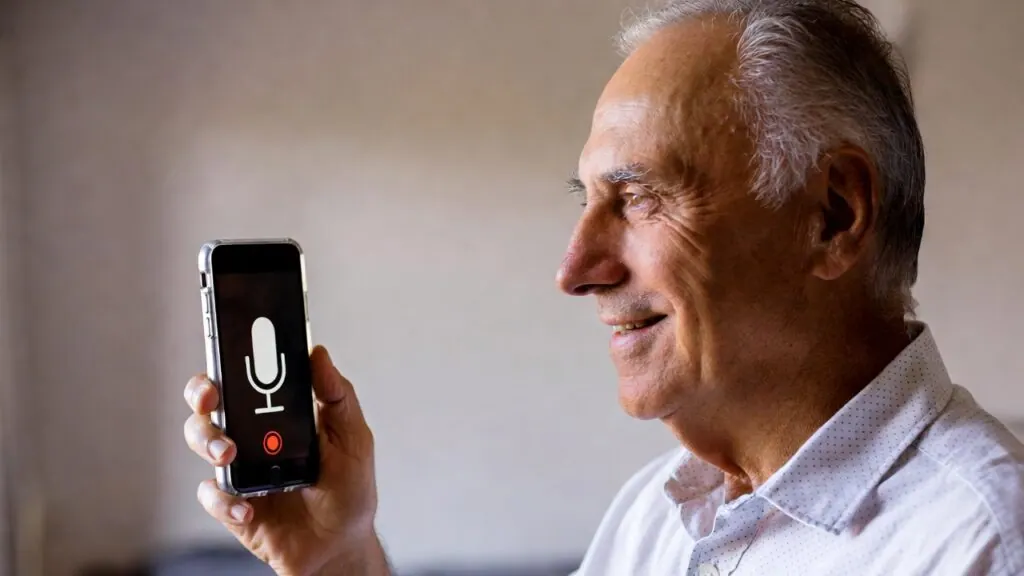
Record ten seconds and listen back before the conversation. Move the device closer if the voice sounds distant. Turn off notifications and put the phone on a stable surface instead of holding it.
If you only need an MP3, Meminto’s free online audio recorder works in the browser without an account or upload.
1. Agree on what will happen to the recording
Ask before pressing record. Explain who will hear the file, whether it may be transcribed, and whether the story is intended for a private family book. The speaker may pause, skip a question, ask for a passage to be removed, or stop the recording at any time.
Permission for a private conversation is not automatically permission to publish the recording online. If you later want to share it with a wider audience, ask again for that specific use.
2. Choose one story, not an entire lifetime
“Tell me about your life” is difficult to answer. A concrete beginning is easier:
- What did a normal Sunday look like in your childhood?
- Tell me about your first day at work.
- Which family celebration do you remember most clearly?
- What happened before and after this photograph was taken?
- Which decision changed the direction of your life?
For grandparents, our list of 60 questions to ask a grandparent provides more starting points.
3. Use follow-up questions that invite details
Do not hurry to the next prepared question. Follow the detail that appeared in the answer:
- Who else was there?
- What could you see, hear, or smell?
- What happened next?
- What did you believe at the time?
- Do you understand the event differently today?
- Is there a photograph or object connected with it?
Silence is useful. Give the speaker time to remember instead of filling every pause.
4. Protect difficult memories
Family stories may include grief, migration, conflict, illness, or experiences the speaker has rarely discussed. Do not treat emotional detail as something the interview must obtain. Let the speaker decide what belongs in the story and what remains private.
If a fact concerns another living person, consider whether it should appear in a shared book. A private archive can hold material that is not appropriate for wider circulation.
5. Name and back up every file immediately
Use filenames that will still make sense months later:
2026-09-19_susanna_first-home_part-01.mp3
Then keep two copies in separate places. Add a short note with:
- the speaker and interviewer;
- the recording date and place;
- the main topic;
- names, dates, or locations that need checking;
- any passage the speaker wants to review before use.
This small index saves more time than trying to reconstruct the context later.
6. Transcribe without rewriting the person
A transcript turns sound into editable text. Editing turns that transcript into a readable story. Keep those steps separate.
In the first pass, preserve the speaker’s meaning and distinctive expressions. Mark unclear words instead of guessing. In the editing pass, you can remove repeated filler words, combine broken sentences, and move related details together. Do not invent transitions, improve memories, or replace the speaker’s conclusion with your own.
Read the edited chapter back to the speaker whenever possible. Names, dates, and places can be corrected in a note while the personal memory remains clearly their perspective.
7. Add photographs with context
A photograph becomes more useful when the caption answers a few questions:
- Who is pictured?
- Where and approximately when was it taken?
- What happened just before or after it?
- Why does the picture matter to this story?
Do not interrupt every conversation to scan photographs. Make a simple list of the images to find later and add them when the chapter is being reviewed.
8. Build a book from focused chapters
One recording does not need to become one long chapter. Divide it around clear moments: the childhood home, the first job, a journey, a family tradition, or one difficult decision. Give each chapter a descriptive working title and place undated memories approximately rather than pretending to know an exact year.
A simple structure is:
- the scene that opens the memory;
- what happened;
- what the speaker thought or felt then;
- what the experience means today;
- photographs and captions that belong with it.
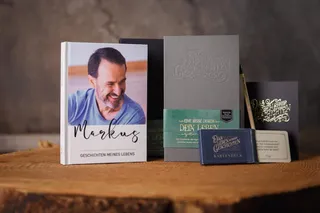
Meminto’s StoryScribe speech-to-text feature lets an author speak an answer and review the resulting text inside a book project. The Helpdesk shows how to record a story by voice on a smartphone. A Life Story Book then provides guided questions, chapters, photographs, and the path to a printed hardcover.
From recording to a print-ready book
Use this short check before you order:
- Record one focused answer and save the file with its speaker, topic, and date.
- Review the transcript together. StoryScribe can turn a spoken answer into editable text, but transcription requires credits. Check names, places, dates, and unclear passages with the speaker rather than assuming the text is correct.
- Choose photos and write captions that identify who, where, when, and why the image belongs with this memory.
- Order the chapters so each story has a clear beginning, middle, and ending; a Life Story Book can provide guided questions and a chapter structure.
- Open the complete preview before approving print. Read captions and spelling, check the page order and any QR codes, then make changes before you approve the book.
The written transcript is the part a reader can follow on the page. The original audio is separate: with audio and video QR codes, Meminto links saved audio to a QR code so readers can hear the voice beside the story. Audio stored with Meminto has no ongoing storage fee. Video needs its own choice: Meminto-hosted video has an included storage period and extensions may cost extra, while a YouTube video must remain public or unlisted and available for its QR code to work.
The important first step is smaller: record one story carefully enough that your family will know whose voice, whose memory, and whose words they are reading.