


Creating a travel photo book can be a fun project to do when you have some free time. It’s a great way to remember and share your trips with others. You can include pictures of places you visited, the food you tried, and the interesting things you saw. Making these books can also help you feel like you’re traveling, even at home. Just like there are different kinds of trips, there are different ways to make a travel photo book.
You can organize your pictures differently, like when you took them or by telling stories about each one. Some people even add tickets and postcards to make their books more personal and unique. So, you can make your book however you like!
This article will highlight the 16 best DIY travel book ideas to make your travel experiences memorable.
Key Takeaways
- Creating a travel photo book is a customizable project that allows individuals to tailor their books according to their preferences. From organizing photos differently to telling stories through captions, there are various ways to personalize the book.
- Practical tips for creating DIY travel books are provided, such as organizing photos, deciding on a story or theme, choosing and editing photos carefully, and selecting the look and feel of the book.
- Meminto is the best tool for creating travel books, catering to different preferences and skill levels.
16 Best DIY Travel Book Ideas
Need ideas for your travel book? Our tips and suggestions can assist you in creating the perfect travel book you’ve always wanted.
1. Naturescapes
Gather all the beautiful natural spots you’ve discovered on your road trips into a single book. Put in your top hiking trails, waterfalls, lakes, and forests. You can even create a calendar to remind you of these adventures every month and inspire future trips.
2. Create a Food Travel Book
Traveling is all about experiencing new foods. Whether traveling far or near, you’ll discover countless exciting places to eat and dishes to taste. While many travel books include food photos, why not create one dedicated to food?
It’ll be a treasure trove of meal ideas if you enjoy cooking. This is a fantastic idea for any food lover’s travel book.
3. Group certain photos together.
Organizing your photos by events, like meals, beach days, and sightseeing, will give your book a cohesive feel. If you’re traveling with loved ones, group photos of them together for a personal touch.
You can also create a timeline of your trip from beginning to end. Timeline books are perfect for sharing all your adventures in order, ensuring no story gets left out.
Different photo book websites offer various layouts, making it easy to group your travel photos creatively.
4. Collect Souvenirs
Souvenirs like movie tickets, tour pamphlets, polaroids, and postcards add a fun touch to your travel book. You can store them in plastic sleeves at the front or back of your photo book alongside your favorite digital photos from your trip. Make sure to improve your travel photography skills to blend these elements smoothly.
5. Add a map of where you were.
Your travel book doesn’t have to include only your own photos. You can add some extra flair by inserting a map of the places you visited.
You can easily find options online if you don’t have a map handy. This way, you can always remember where you’ve been. A map could even make a cool cover photo for your book!
6. Use captions to tell a story.
Our adventures are filled with interesting stories, whether from people we meet or memories we create. Arrange your photos in order and use captions to tell these stories. You don’t need to be a great writer; a few details will do to set the scene.
If you keep a travel journal, a story photo book is a great idea—you’ll already have all the details you need, and this ensures you won’t forget any important moments.
Some photo book websites, like Printed Memories, can automatically add dates from your social media posts to your book. So, sharing your journey online will still complete your book, even if you’re unsure of specific dates.
7. Spend time on the cover photo.
Don’t overlook the importance of the cover photo for your travel book—it’s just as crucial as everything else you’ve done. The cover sets the tone for the entire book.
Consider using a world map or a memorable photo as your cover. It could highlight a special moment from your trip or the people you met. Whatever you choose, make sure it’s something you enjoy looking at and are proud to share.
8. A family and friend photobook
Create a special travel album dedicated to your family and friends. Include all the wonderful memories you’ve made together during your adventures.
9. Cutouts from Brochures and Travel Pamphlets
Although travel information is mostly found online now, brochures still hold value for travel scrapbook makers. These pamphlets offer endless possibilities for creating unique and interesting pages in your scrapbook.
You can cut out square, round, or custom-shaped pieces from the brochures with scissors. Use a glue pen for precise application to add these cutouts to your scrapbook. You can cut out photos, text blocks, or individual words to personalize your scrapbook for each place you visit. Combined with photos, other souvenirs, and your own words, this creates a cool hybrid of a travel journal and scrapbook, ensuring you have a one-of-a-kind souvenir of your visit.
10. An Instagram travel book
If you love sharing your travel photos on Instagram, why not turn them into a physical photo book? You can easily print your images using book-building services like Printed Memories, which allow instant uploads from your social media accounts.
11. Ticket Stubs and Passes
Instead of tossing them away, consider keeping ticket stubs and museum passes as treasures from your travels. Store them neatly in your travel scrapbook instead of cluttering your pockets or luggage. These tickets can jog your memory about the places you visited and your experiences during your trip. They often include useful information like the location and date, making them perfect keepsakes to cherish as you flip through your scrapbook in the future.
12. A road trip book
If you love road trips, creating a book dedicated to them is fantastic. Fill it with photos of street signs, scenic views, and anything else that captures the essence of your journeys.
13. Theme Parks
The memories of your recent family trip to the theme park are still vivid. Collect funny moments of your kids enjoying themselves and exploring the park.
If you’ve visited multiple parks over the years, consider including them all in one book to see how your family has grown with each trip. Get cosy, enjoy a classic theme park snack, and reminisce over your favourite memories.
14. A photo book dedicated to your kids
Creating a photo book focused on your kids is a wonderful way to preserve all the special moments you share with them during your travels. Traveling with children is always an adventure, and this theme ensures you capture every precious memory.
15. Collect Selfies
You’ve all snapped selfies at landmarks and other famous spots. Why not gather them into a book to share with friends and family?
Selfie books are great, especially for solo trips. Next time you travel alone, bring a small pouch with your favorite makeup items for quick touch-ups before taking selfies.
16. A yearly vacation album
If you go on a trip yearly, consider creating a vacation album to preserve your adventures. Fill it with your favorite photos, whether you’re lounging by the pool or exploring new sights.
Tips for Creating DIY Travel Book Ideas
1. Know who you’re making the book for.
Think about why you’re making your travel photo book. Is it for yourself, to sell, or to share with family? Knowing this helps you choose which photos to use. You can also check out other people’s books for ideas. “Sri Lanka” by Dan Rubin and “Folk Tales” by Julia Nimke are great examples.
2. Sort out your photos.
If you have photos from your trip on different devices, like your phone and camera, start by putting them all in one place. Make folders for each batch of photos, with the year and location as labels. For example, “2019 > Italy > Rome.” Then, rename your photos by date and what’s in them. Being organized from the beginning makes it easier to find photos later.
3. Decide on a story or theme.
Look at your photos and decide what story you want to tell. Some books have a clear beginning, middle, and end. Others group photos by subject, color, or theme. There’s no right way to organize your book, but it helps to have a focus. If you’re making the book for others, think about which photos will interest them and show off your trip.
4. Choose and edit your photos carefully.
Before you start designing your book, review and edit your photos. Choose the best ones and get rid of blurry or duplicate shots. Less is more—only include photos that add something different. Try to mix close-ups, panoramas, people, and landscapes.
5. Decide on the look and feel.
You get to choose how your book looks. Pick a size, cover, and paper type that suit your project and audience. Do you want a fancy hardcover book or a simpler softcover album? If you have big landscape photos, consider a lay-flat book where the pages can open flat.
6. Choose a design tool.
You can make your book on your phone or computer with meminto stories. Use the mobile app, download the meminto stories app on your phone and use our question prompts to create the best travel book to save your memories
7. Design clean, balanced pages.
Make sure your photos have space to stand out. Don’t crowd the page with too many images. A collage can be fun, but leave white space between photos if there are lots on one page. Use templates to help you create pages that look good.
8. Add text and captions.
Think about adding titles or captions to your photos. You could also write stories or fun facts about your trip. If you’re making the book as a gift, consider adding a dedication or personal notes.
9. Enjoy your book.
Once your book is printed, take the time to look through it. Holding it in your hands and flipping through the pages is a special way to remember your trip. If you’ve been meaning to make a book, there’s no better time to start than now.
How to Create a DIY Travel Book
Now that you know what you want your travel book to look like, let’s explore how to create one with Meminto.
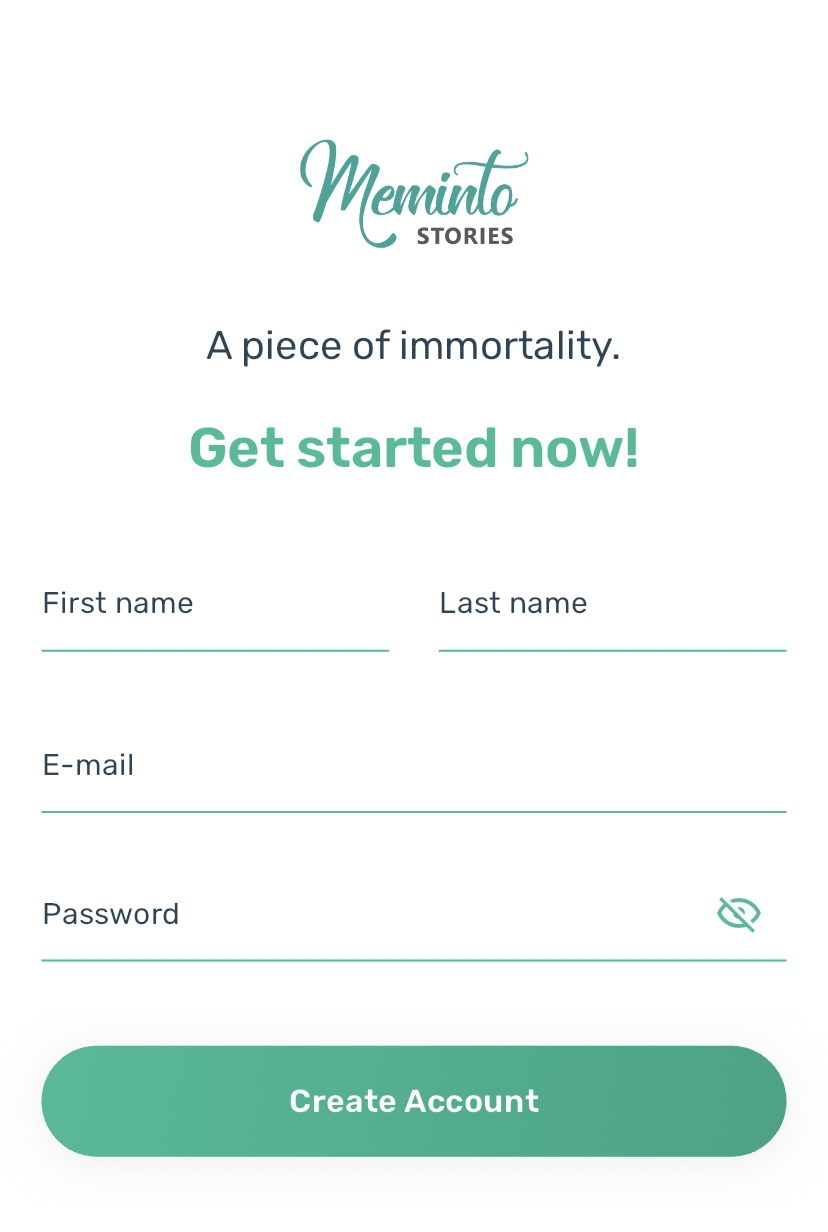
- Download the Meminto app from the Apple Store or Google Play Store. Then, sign up by entering your name, email, and password.
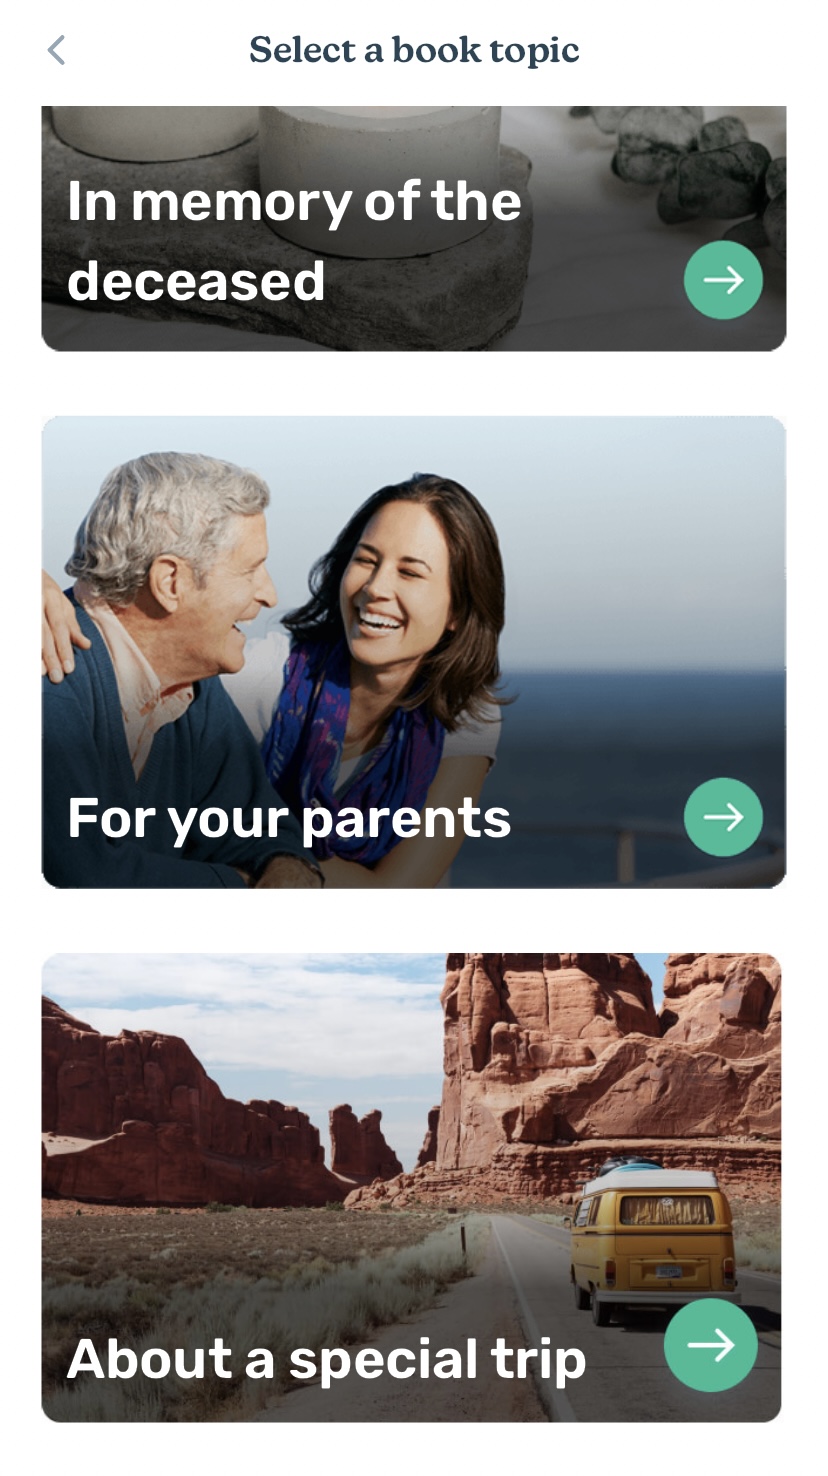
- Once logged in, select “about a special trip” as the topic for your book.
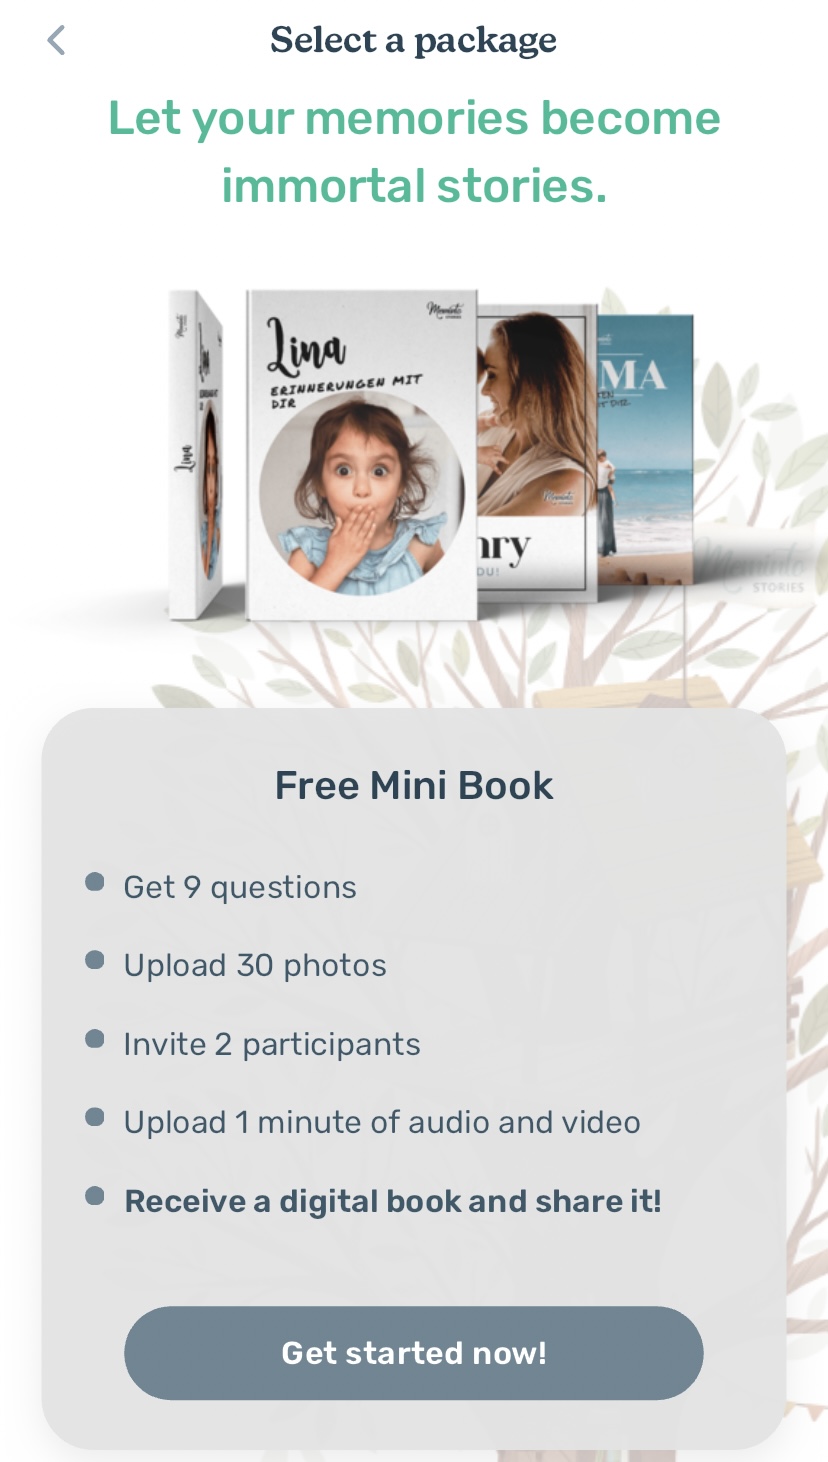
- Choose from three different packages:
- Free Mini Book: This option includes 9 questions, the ability to upload 30 photos, invite 2 participants, upload 1 minute of audio and video, and receive a digital book for free.
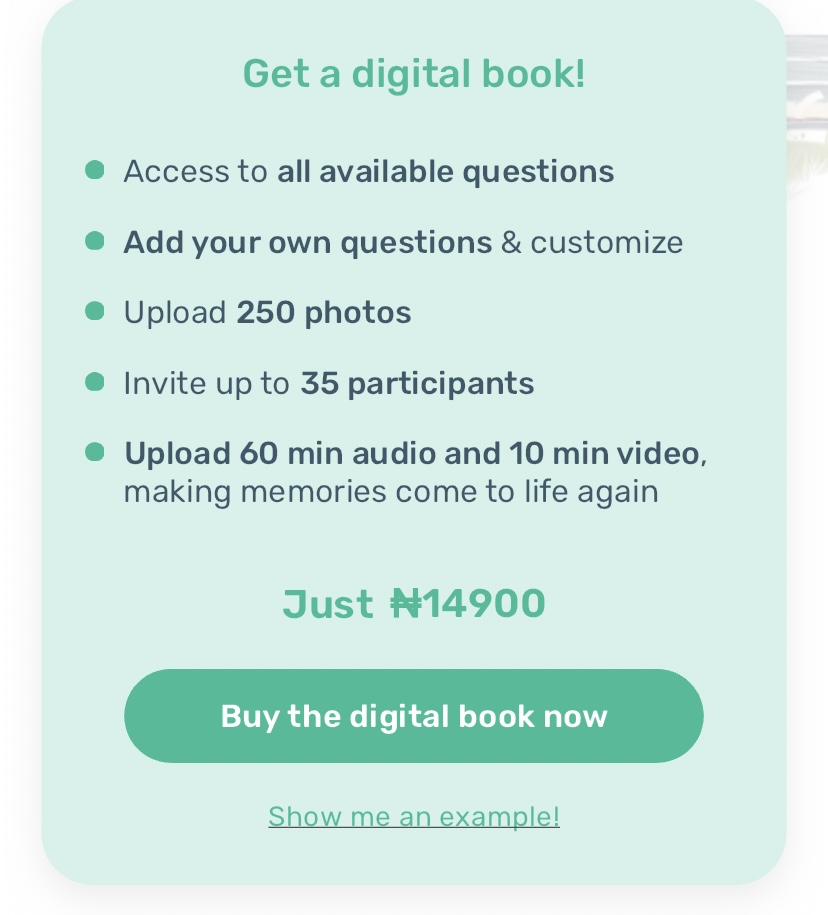
- Digital Book: For about $10, you get access to all questions, can add custom questions, upload 250 photos, invite up to 35 participants, and upload 60 minutes of audio and 10 minutes of video.
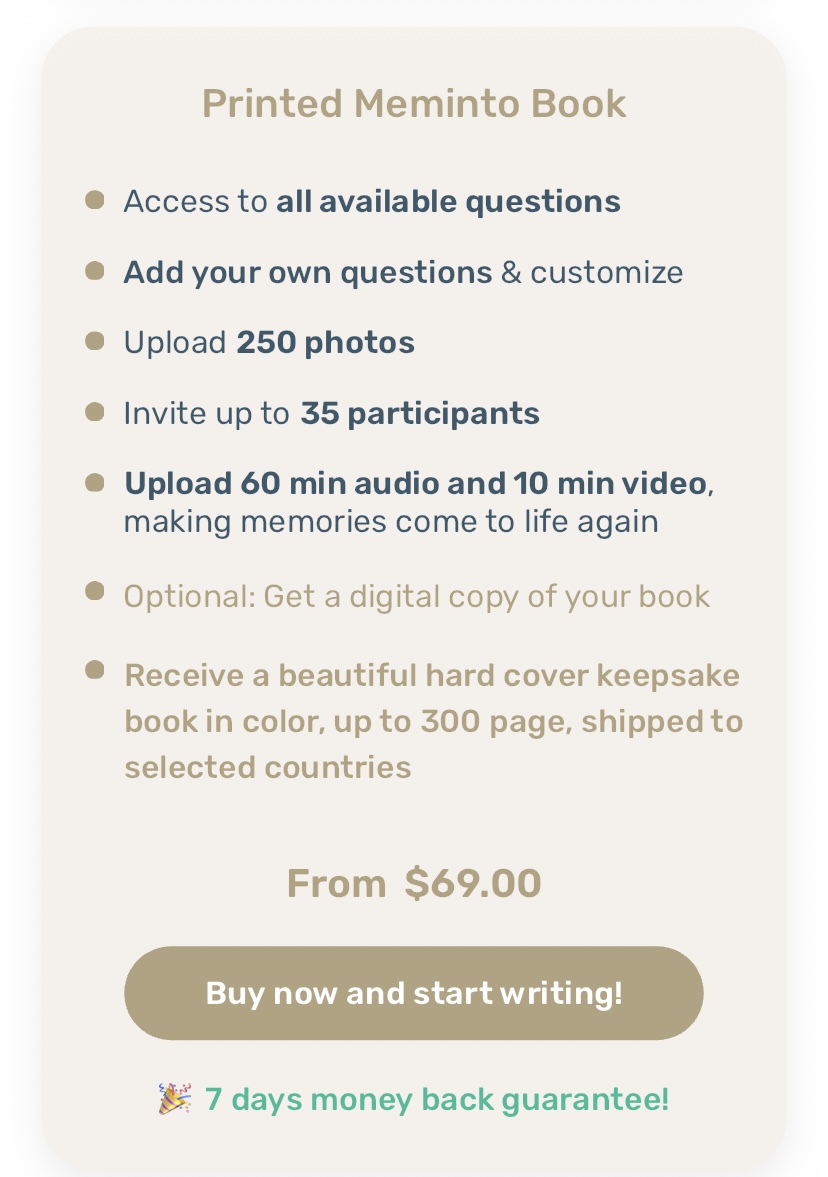
- Printed Meminto Book: This option includes all the features of the digital book plus an optional digital copy, priced at $69.
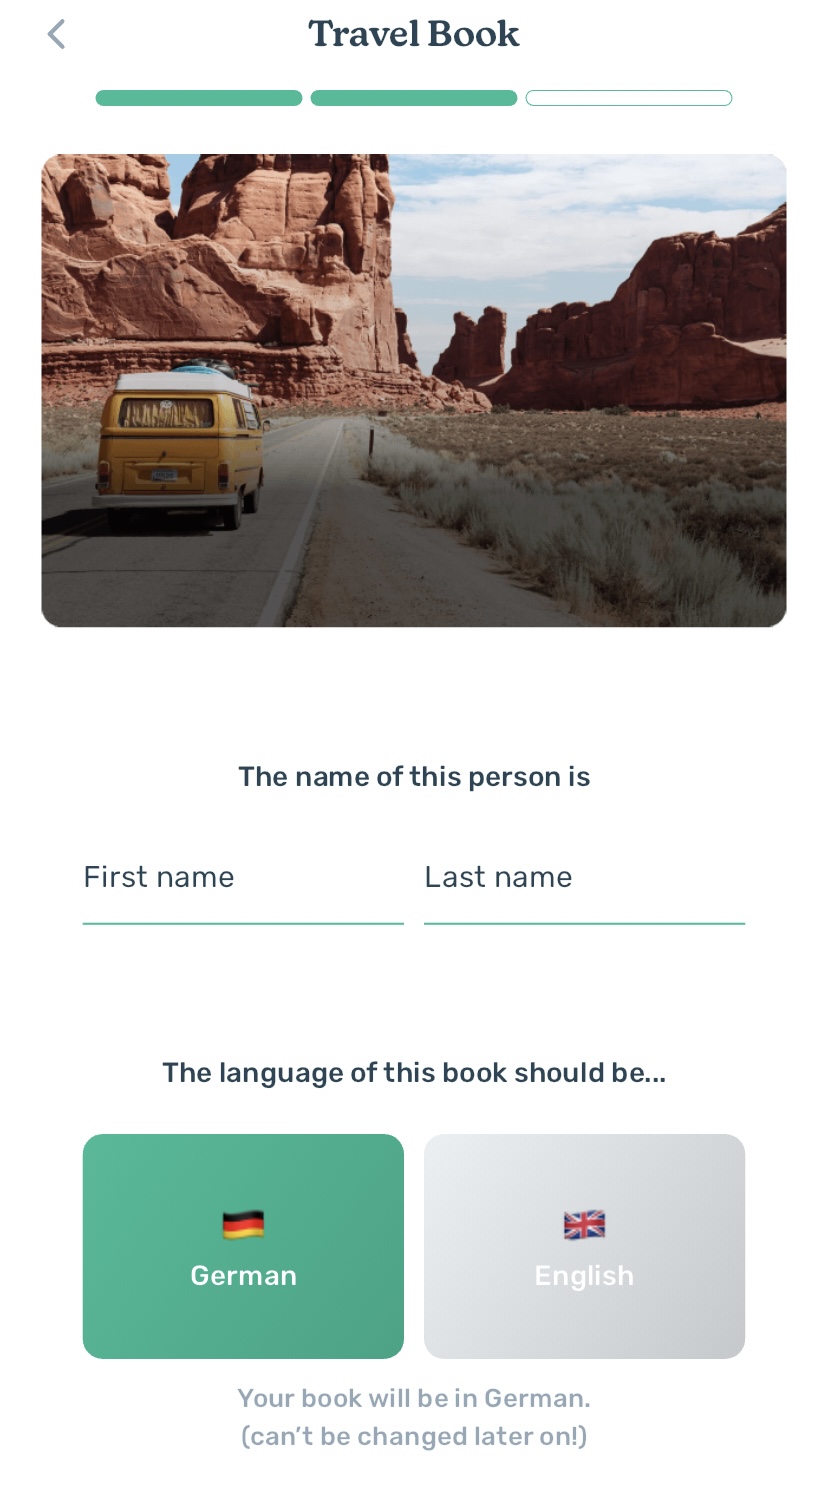
- Enter your name and choose your preferred language, either German or English.
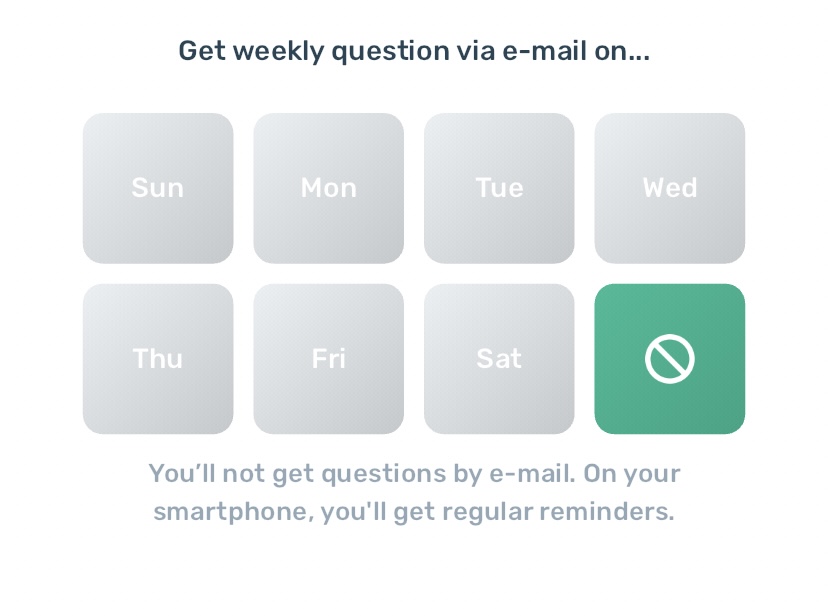
- You can choose to receive weekly questions via email, select the day you want to receive them, and proceed.
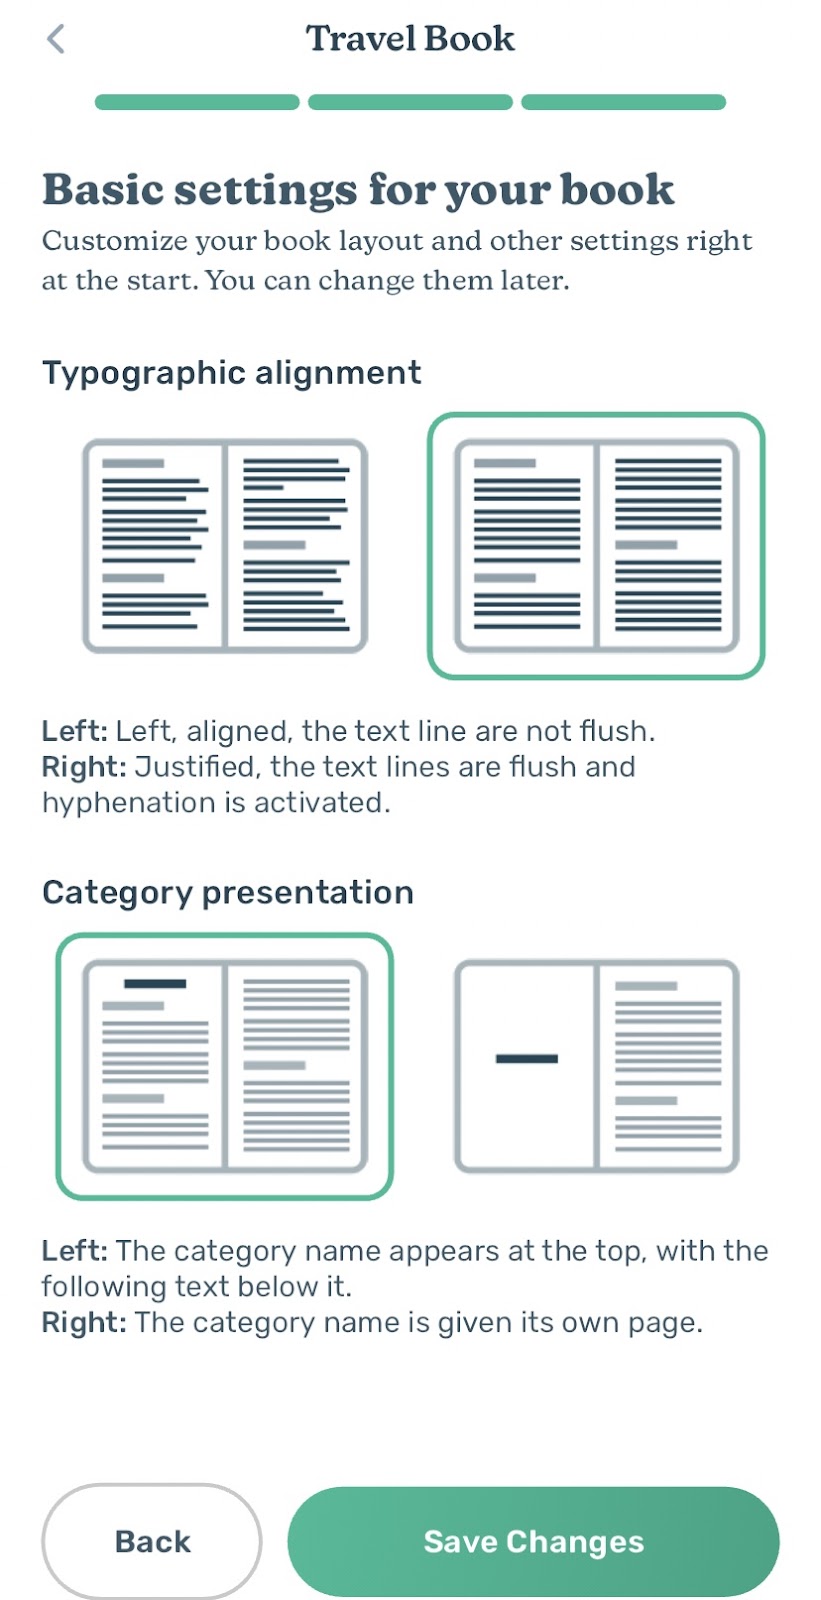
- Customize basic settings for your book, such as layout and typographic alignment, and remember to save changes.
- Start creating content for your book by answering questions and uploading videos, audio, and pictures from your trip.
- You can edit or change questions using the pen icon and you can get inspiration by clicking the light bulb button.
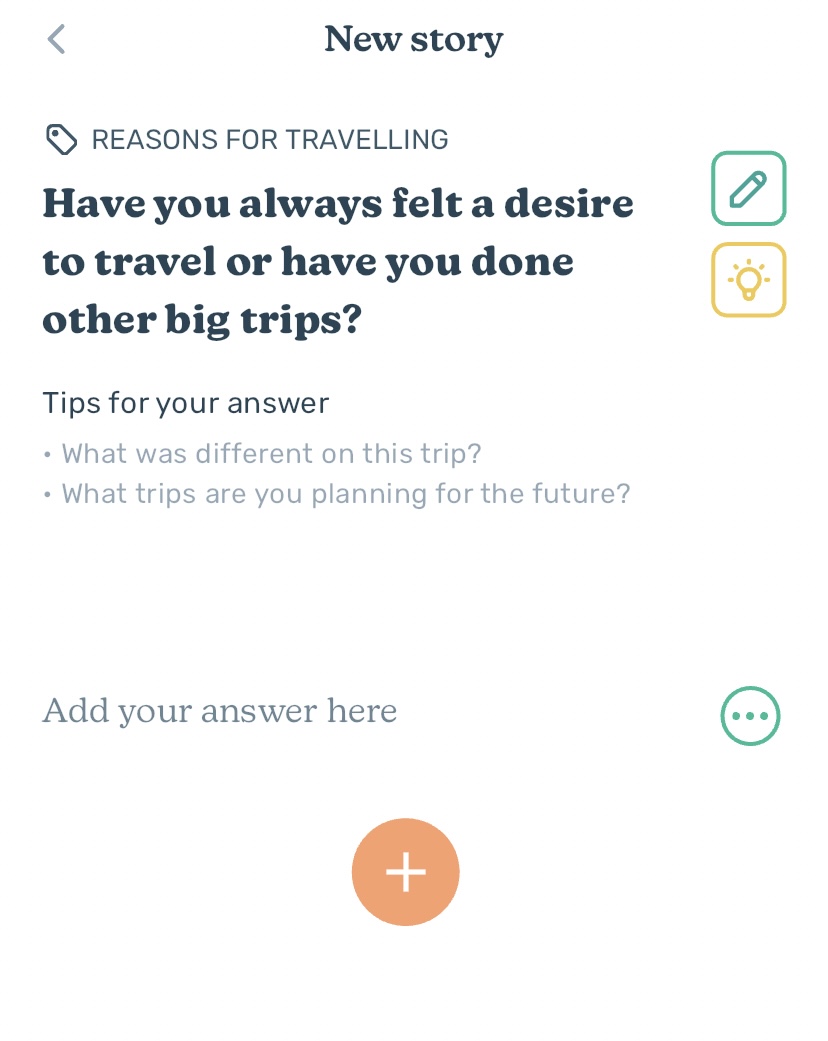
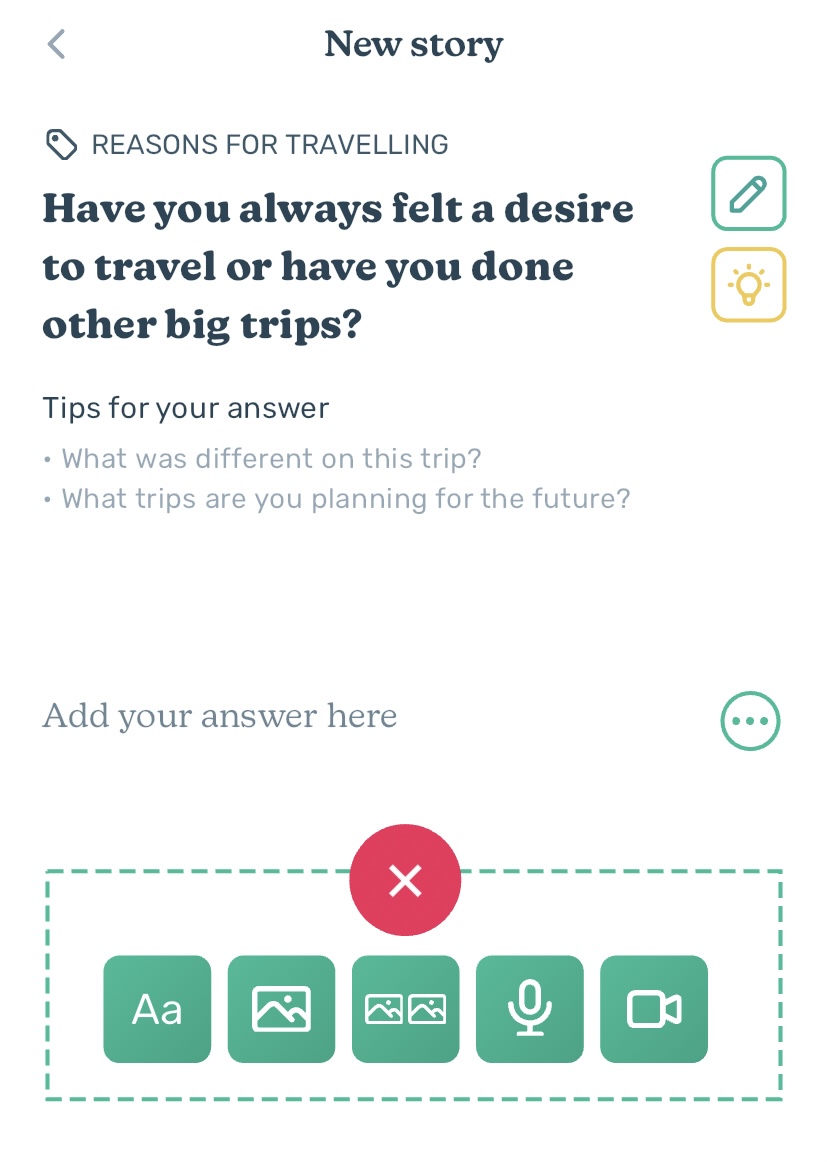
- Tap the plus button at the bottom to upload media like videos and images.
- Invite friends and family to contribute using the “invite participants” button.
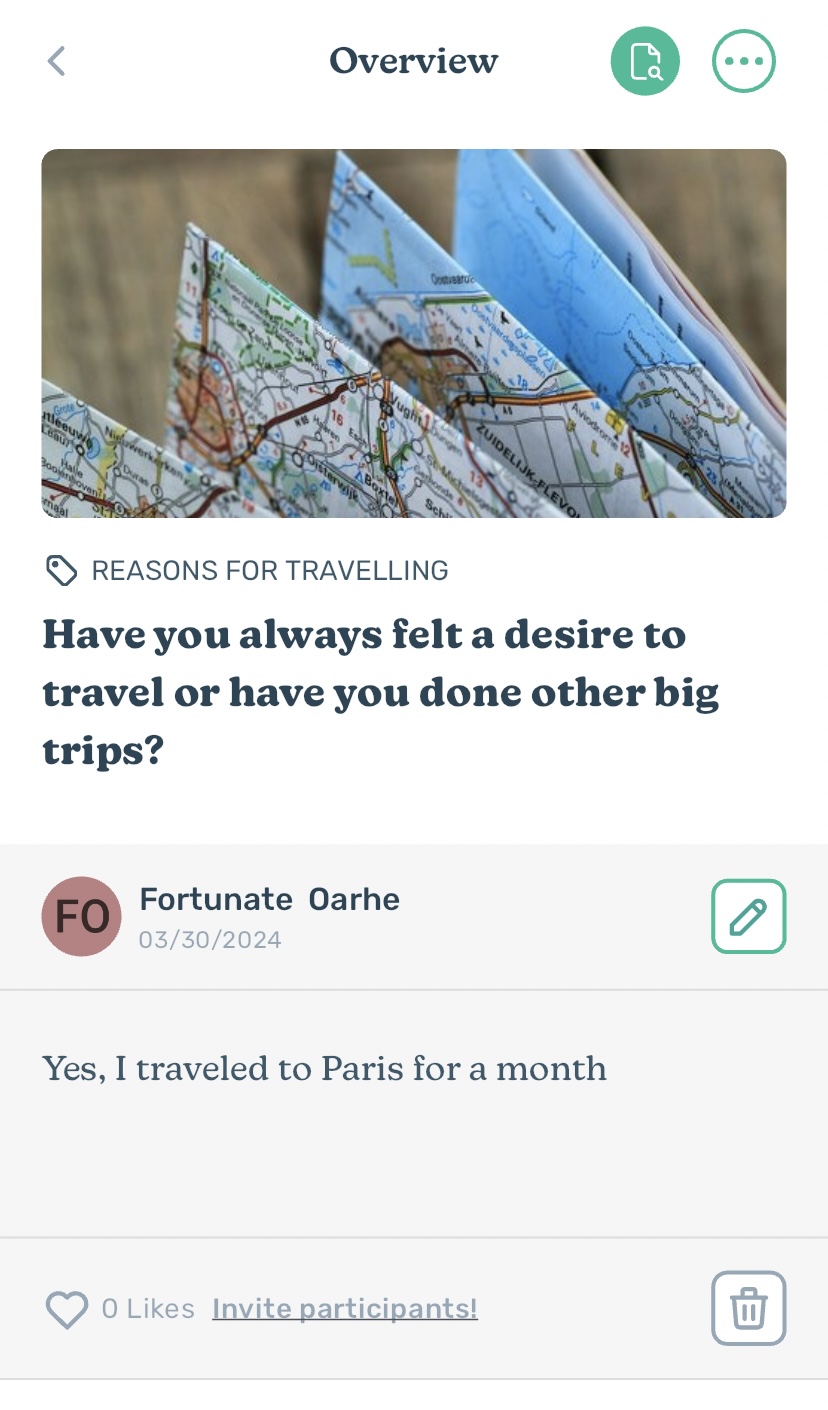
- Once you’ve answered all the questions, you’ll receive a link to customize and design your book further in a web browser.
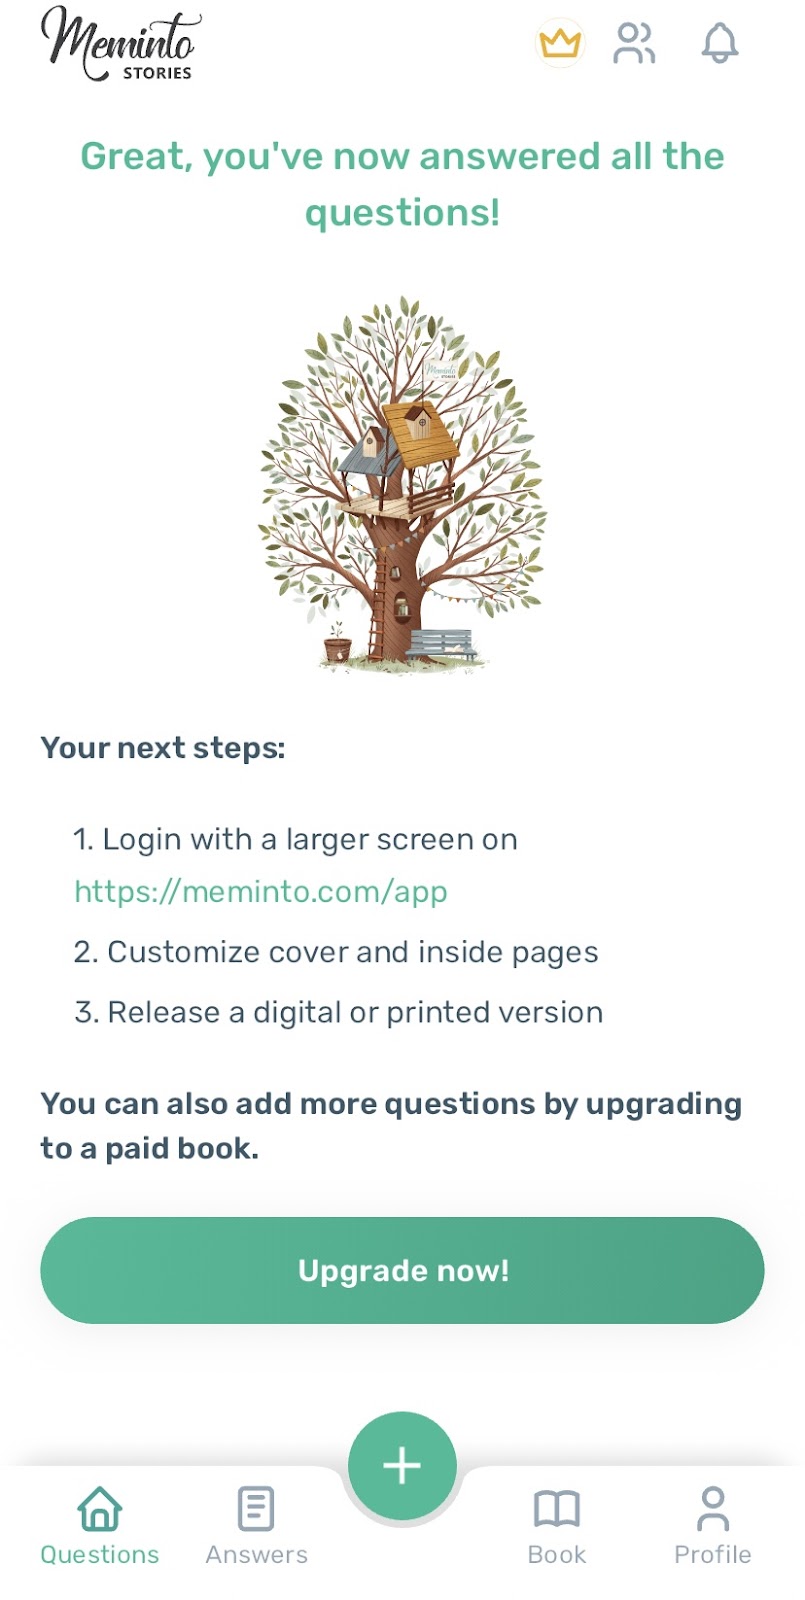
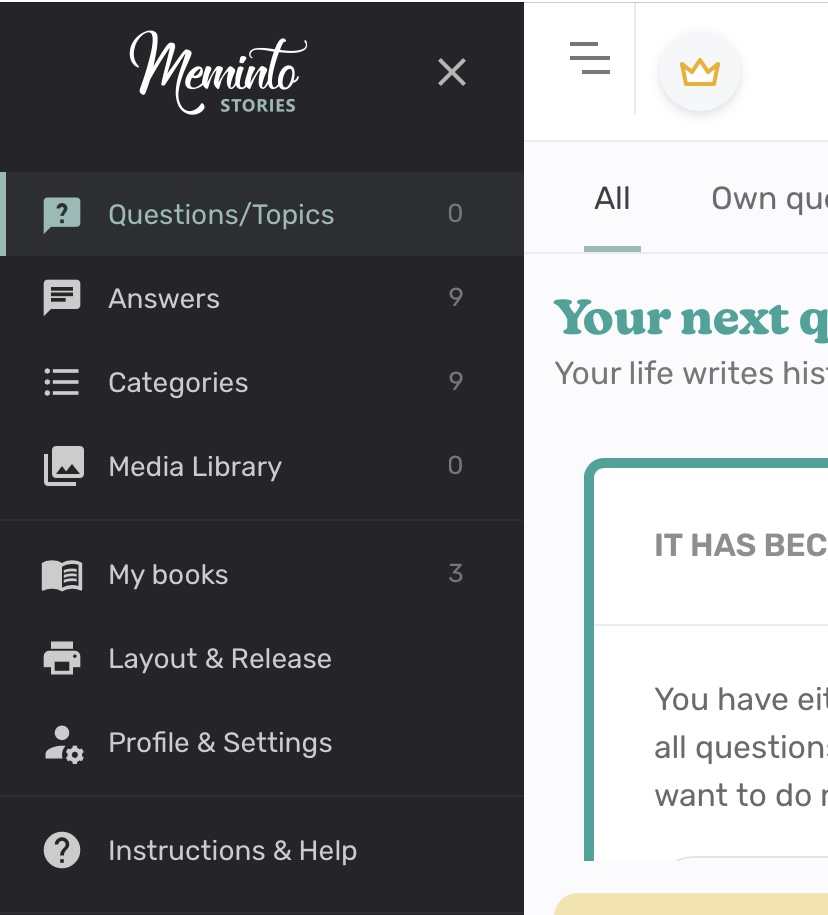
- Click on the three horizontal lines at the top left corner, scroll down, and click on the “layout and release” option.
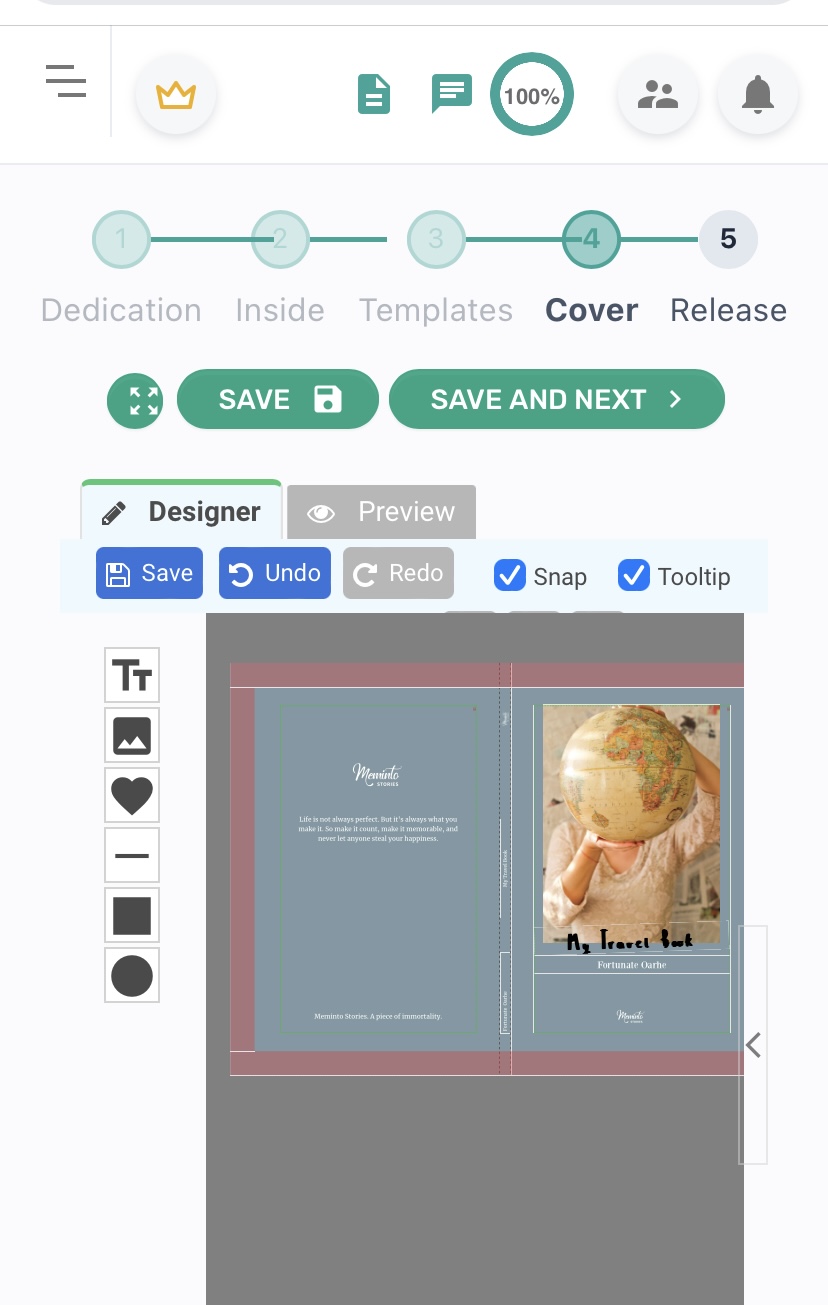
- Customize the dedication, inside pages, and book cover, and remember to save after each stage.
- Preview your book to ensure everything is in order before downloading by clicking on the release button.
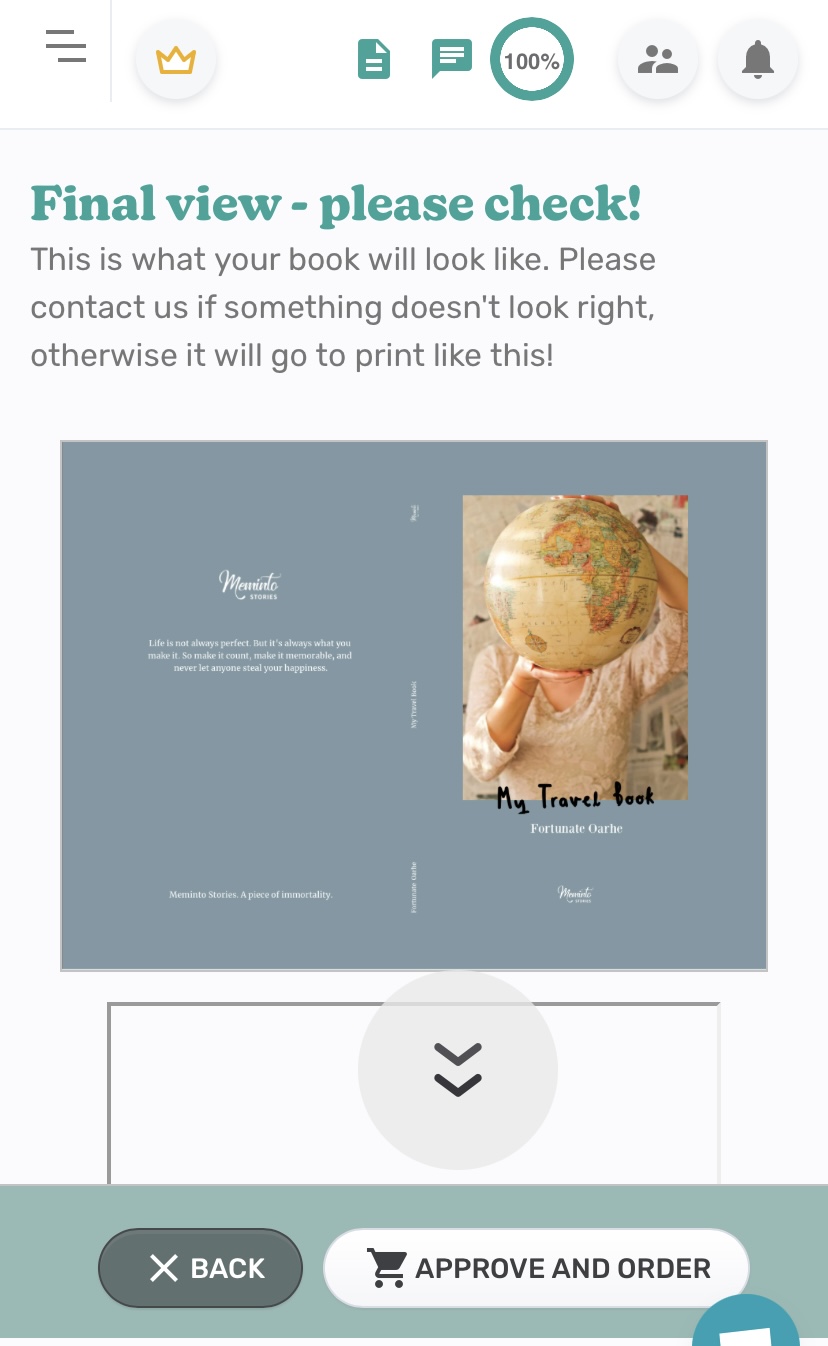
- After confirming everything is correct, approve and order your book.
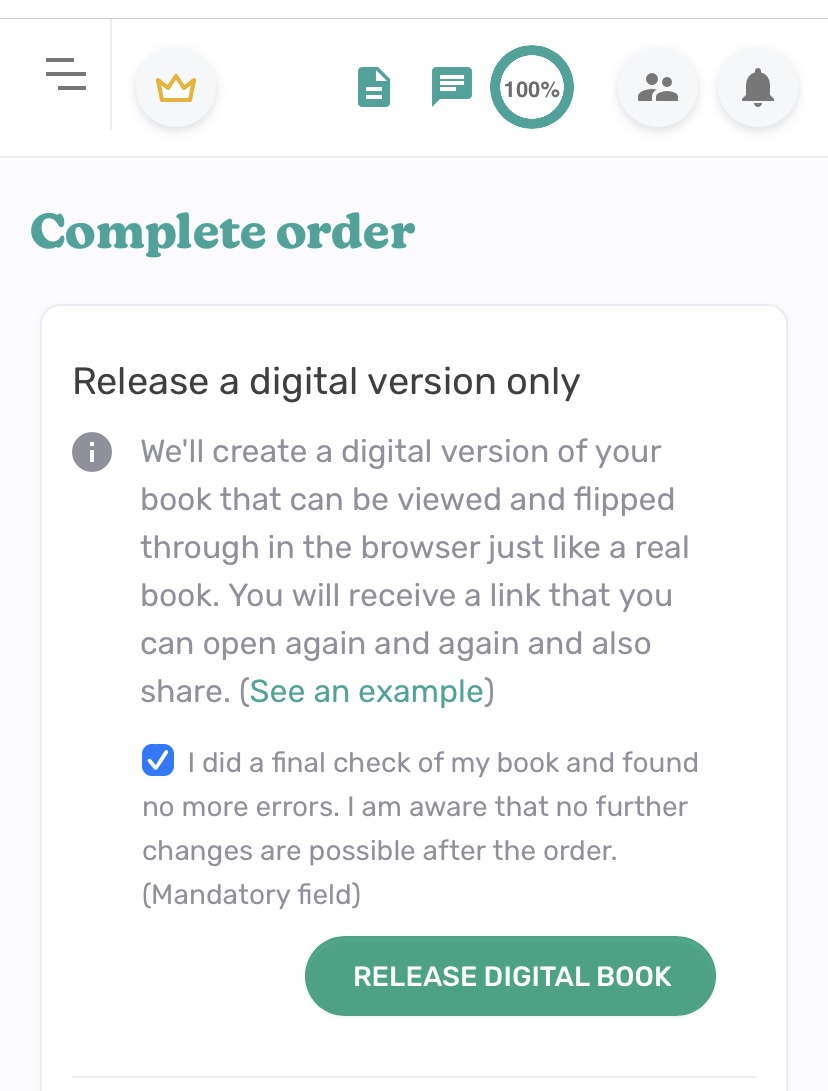
- Click on the “Release” button to receive a digital copy of your book via email. Your memory book is now ready to be shared.
Conclusion
These simple ideas can help you add creativity to your travel scrapbook, making it a special trip record. A well-made scrapbook or journal can be like a treasure. It’s not just for us; our loved ones can enjoy it too, getting a real sense of our adventures.
A travel scrapbook goes beyond the usual tourist photos on social media. It captures more of our journey. And if we keep it safe, future generations can flip through it and feel a part of our travels.
Making a great travel photo book doesn’t have to be complicated. You can organize and edit your photos right from your phone. The process will be easier with the themes, tips, and ideas mentioned earlier. And once you start, you might find it hard to stop at just one book!